Tips for Handling Asbestos During Home Renovations by Brian Turner
Since Hurricane Sandy hit the tri-state area, many older homes must be renovated and rebuilt. These home renovations must be greeted with caution because many homes built before 1970 may have materials containing asbestos. Insulation, floor tiles, drywall and joint compounds may all contain asbestos.
Asbestos may become airborne when removed from the home for replacement. When asbestos is inhaled, it becomes lodged in the lungs. Ten to 50 years later, it may develop into mesothelioma. This type of cancer is difficult to treat and may be fatal. Consider these tips to minimize asbestos exposure:
1. Do Not Disturb Asbestos
If you encounter asbestos, you should not drill through it, saw it, break it, hammer it or disturb it in any way. Housekeepers or janitors should not sand or buff floor tiles made with asbestos. Wet stripping is recommended with floor tiles made of asbestos. During the buffing process, low abrasion pads are recommended. Speeds below 300 are suggested.
2. Involve Professionals for Asbestos Containment
Report all suspected asbestos materials to Environment, Health and Safety (EHS). The report may include damaged insulation on a pipe, broken ceiling tiles and spray-on insulation. Asbestos abatement workers may be hired to determine if asbestos is present and remove it from the home. In the meantime, others should be prevented from disturbing the asbestos to avoid exposure.
3.Monitor Your Health After Exposure
After exposure to asbestos, you should monitor your health closely for early detection. A mesothelioma blood test can detect the cancer before symptoms appear. After exposure, you should be tested annually. Ensure the test is approved by the FDA. Other diagnostic tests may include an X-ray of the lungs to determine how well the lungs are working.
Thinking About Doing Your Own Ceramic Tile Demo?
by Ron Call
As we continue in the series of do-it-yourself demo, today I will cover ceramic tile and stone removal from a concrete slab. This is a quite a bit more involved and difficult compared to carpet removal. Depending on the method of installation (whether installed over slip sheet or direct to concrete) and the materials used in bonding the tile, removal may be fairly easy or one of the most difficult jobs you will ever tackle. In this day and age of trying to save a buck or two on your home remodel you may want to consider doing your own demo. If you’re planning on installing your new flooring project soon, doing your own demo (removal of existing floor covering) will save you money. The cost to remove an existing ceramic tile or stone floor could be as much as the labor to install a new floor! Here is how you can do it yourself. For this project we will assume that we will be installing a new wood floor.
If you have an existing ceramic tile floor that is on a concrete slab here is what you will need.
Hammer
Pry bar
Floor scrapper
Work gloves
Dust mask
Safety glasses
Five gallon bucket
Flat head shovel
Red rosin paper
Blue painters tape
Plastic sheeting
Rotary hammer
Commercial ceramic tile stripper (optional)
Concrete grinder (optional)
Start your demo project by first protecting all the areas you are not demoing from flying debris. Use your red rosin paper and blue tape to protect any cabinets or walls that you don’t want to repaint. Hang your plastic in doorways or openings to adjacent rooms to keep the dust contained. Always wear your safety glasses, gloves and dust mask. If the area to be removed is not that big such as an entry way or small bathroom or kitchen hand tools may be all you need. Doing larger rooms you will do yourself a big favor by renting a ceramic tile demo machine from your local tool rental outlet. Your rotary hammer with a chisel bit will work as well but will take much more time. Here is a youtube video of the ceramic tile machine you may want to rent.
You will need to start your tear out at an exposed edge, possibly a door way or where the edge of the tile meets carpeting. If the carpet is staying pull it back away from the tile far enough to start your demo without causing damage to the carpet. If the carpet is being replaced as well, remove this first (See last week’s blog). If the room is totally tile with no exposed edges use your hammer to breakout a few tiles in the middle of the room. Once you have enough area exposed use your rotary hammer or your machine to start your demo. As you proceed through the demo use your shovel and five gallon bucket to carry the broken tile out to your truck or dumpster. Tile is very heavy and the broken edges can be as sharp as a razor so wear your gloves.
I do not recommend trying to fill your trash cans with the removed tile as it will become so heavy your trash man will most likely not pick it up for you. Transport it to the dump in a truck. Be sure to remove any residual mortar from the floor using your floor scrapper, rotary hammer or concrete grinder as needed to achieve a clean smooth surface for your new floor. Once all your old floor is removed your ready to call your installer…
Thinking About Doing Your Own Carpet Demo?
by Ron Call
In this day and age of trying to save a buck or two on your home remodel you may want to consider doing your own demo. If you’re planning on installing your new flooring project soon, doing your own demo (removal of existing floor covering) may save you a few bucks. Here is how you can Do-It-Yourself. For this project we will assume that we will be installing a new floating wood project.
If you have an existing old carpet to tear out here is what you will need.
Hammer
Pry bar
Floor scrapper
Sharp utility knife
Work gloves
Safety glasses
First start in one corner of the room and then pull up the carpet off the tack strip. Once you pulled up the corner, pull along one wall raising the carpet only as high as to release it from the tack strip pins. If the carpet is down so tight that you cannot grip it to pull it up, try cutting a slit down through the top of the carpet in the corner large enough to get your hand underneath then pull it up. Now go around the perimeter of the room pulling it up along the wall from corner to corner. Once the carpet is released from the tack strip it’s time to start cutting the rug.
First cut the carpet at any doorway seams to separate one room from another. Carpet is very heavy so you will want to cut the carpet in manageable size strips maybe four to six feet wide. Then roll it up in individual pieces light enough to carry without hurting yourself.
Once the carpet is gone take your floor scrapper and remove the padding, it may be glued or stapled. Wear your gloves! Staples are sharp and trust me I have the scars to prove it. Once you have released the pad roll it up and dispose of properly. Depending on where you live you may be able to recycle the padding and the carpet both, which will save you dump fees and possible pay for your gas as well. I’ve gotten as much as $40.00 for a whole house worth of old nasty padding.
Now it’s time to tackle the wood tack strip around the perimeter of the room. Grab your pry bar and hammer, put on your gloves and safety glasses. Take the curved edge of the pry bar place it on the floor up against the tack strip right next to one of the nails that secures it to the floor. Start at either end of the tack strip, now hit the pry bar down low by the floor with your hammer to dislodge the nail and raise up the tack strip. Once the first nail pops up move to the next nail. Do this around the entire room until all the tack strip is removed. Dispose of carefully as tack strip pins are very sharp and very painful. Double check the perimeter of the room for any tack strip nails that may have been left behind and remove them with your pry bar.
You do not want these nails under your new floor. Scrap any glue residue from the pad off the floor or remove any staples. Sweep the floor and call your flooring company and tell them you’re ready for your install. It’s hard dirty work doing demo but if you have the time and inclination, you can save a nice chunk of change. Depending on the size of the job the savings could be hundreds of dollars. And nothing makes your installer happier than a floor that is ready for install. Installers love to install, not so much doing demo…
If you ever need advice, guidance or have questions you can always get in touch with me under the “Ask Ron” section of our blog HERE.
So I’m driving down the road today with my wife in the car coming back to San Diego from a business trip in LA. I admit after a long 5 hours in the car I was a little grumpy. And this radio advertisement comes on and tells me they sell their flooring at 80% off cost. After I calmed down ranting and raving things like “sure 80% off a 100% mark up, bunch of lying so and so’s”! My wife says don’t get mad about it just blog about it. So anyway I’m calm now and collecting my thoughts.
Ron Call, your Urbanfloor Guy
Everyone needs to make a profit. That’s how we all pay the bills right? If no one could make a profit we’d all be poor living on dirt floors. But 80% off? Come on, next they will be selling stuff at what? 100% off? Remember you get what you pay for.
I did an installation for a customer last month that is a perfect example of you get what you pay for. I’m a licensed flooring contractor that works out of a small shop. I am typically hired by retailers, interior designers and general contractors to do installations of the flooring that they sell. Occasionally I’ll have a customer usually a referral where I’m asked to provide both the flooring and the installation.
So I head over to her house to meet with her and go over all the details. I find out what type of flooring she wants, I figure out how much material that will be needed and what type of sub-floor she has (very important). Because she lives upstairs in a condo, I also need to make sure for any sound proofing requirements. She also lived right on the ocean which can bring a whole set of challenges in itself. So I submitted my bid for labor which detailed exact square footage required, moldings, base boards, demo of the old floor etc., everything but the floor that she would eventually choose. We planned on me returning in a few days with samples of all the different types of flooring she was interested in. A couple days later she called to say that she was putting things off for a couple weeks as her mom was ill.
Two weeks later she called me very excited that she had found the perfect bamboo floor at that large national discount chain. (I won’t mention their name) but they constantly advertise on T.V. and have their signs hanging in baseball parks all over America. I was a little disappointed that I didn’t sell her the floor myself but I was happy she was happy, and work is work.
So we scheduled the installation for two weeks later. She scheduled her vacation time so she could be home during construction. The plan was I would pick up the bamboo and deliver it, start the demo and prep which was extensive, then on day 4 after proper acclimation we would start putting down some wood.
Here’s where its starts getting a little sticky. We pick up the bamboo and deliver it to the house up two flights of stairs and stack it in the dining room. I open one of the boxes to verify the color and quality and to my shock and dismay it’s solid bamboo not engineered. Which basically means it needs 10 -14 days acclimation not the standard 3 days for engineered products. This customer’s home was one block from the ocean which means acclimation is hyper critical even for engineered products let alone a solid one.
I tell my customer the situation and I explain that we cannot start the install for two weeks. She was beside herself telling me that she could not change her vacation time and what could I do. I explained that without proper acclimation her floor would have no warrantee from the manufacturer. And that from my experience, installing a solid floating floor without proper acclimation would almost surely fail and that I, in all good conscience could not install it. So the job was rescheduled for 2 weeks later as the discount store did not have a similar engineered product in stock so we could not exchange it. My customer thought she was getting a good deal saving what she thought was a few cents per square foot.
In the end she took 2 more weeks off work unpaid and I lost 2 weeks of work myself. Between the both of us it cost us thousands of dollars. I went to the see the store manager at the discount warehouse and he was no help at all. I asked him if he qualified his customer’s to make sure that what he’s selling people is actually suitable for the application involved (he should have known she lived by the ocean and sold her engineered flooring). He basically told me when a customer comes in and buys a floor that his sub-contractors don’t install he just sells the customer what they want. Cash and carry, all he cared about was that he made the sale.
The purchase of new flooring in your home can be one of the most expensive purchases that you will ever make. You need to make sure that you shop at a good retailer with experience and one who only utilizes good licensed contractors.
Some retailers don’t use sub contractors they use their own employees, which is fine as long as the retailer is themselves an experienced contractor. There are many factors to consider when choosing new flooring and there are many things that need to be considered to ensure your flooring purchase is a good experience such as type of floor, environment, location of the home, sub floor, type of home (ie: single family, condo, apartment, mobile home or a high traffic business location), method of installation, type of floor, warrantee and the list goes on and on. Sometimes when you’re trying to cut corners and save a few pennies it ends up costing you more in the end. Remember you get what you pay for!
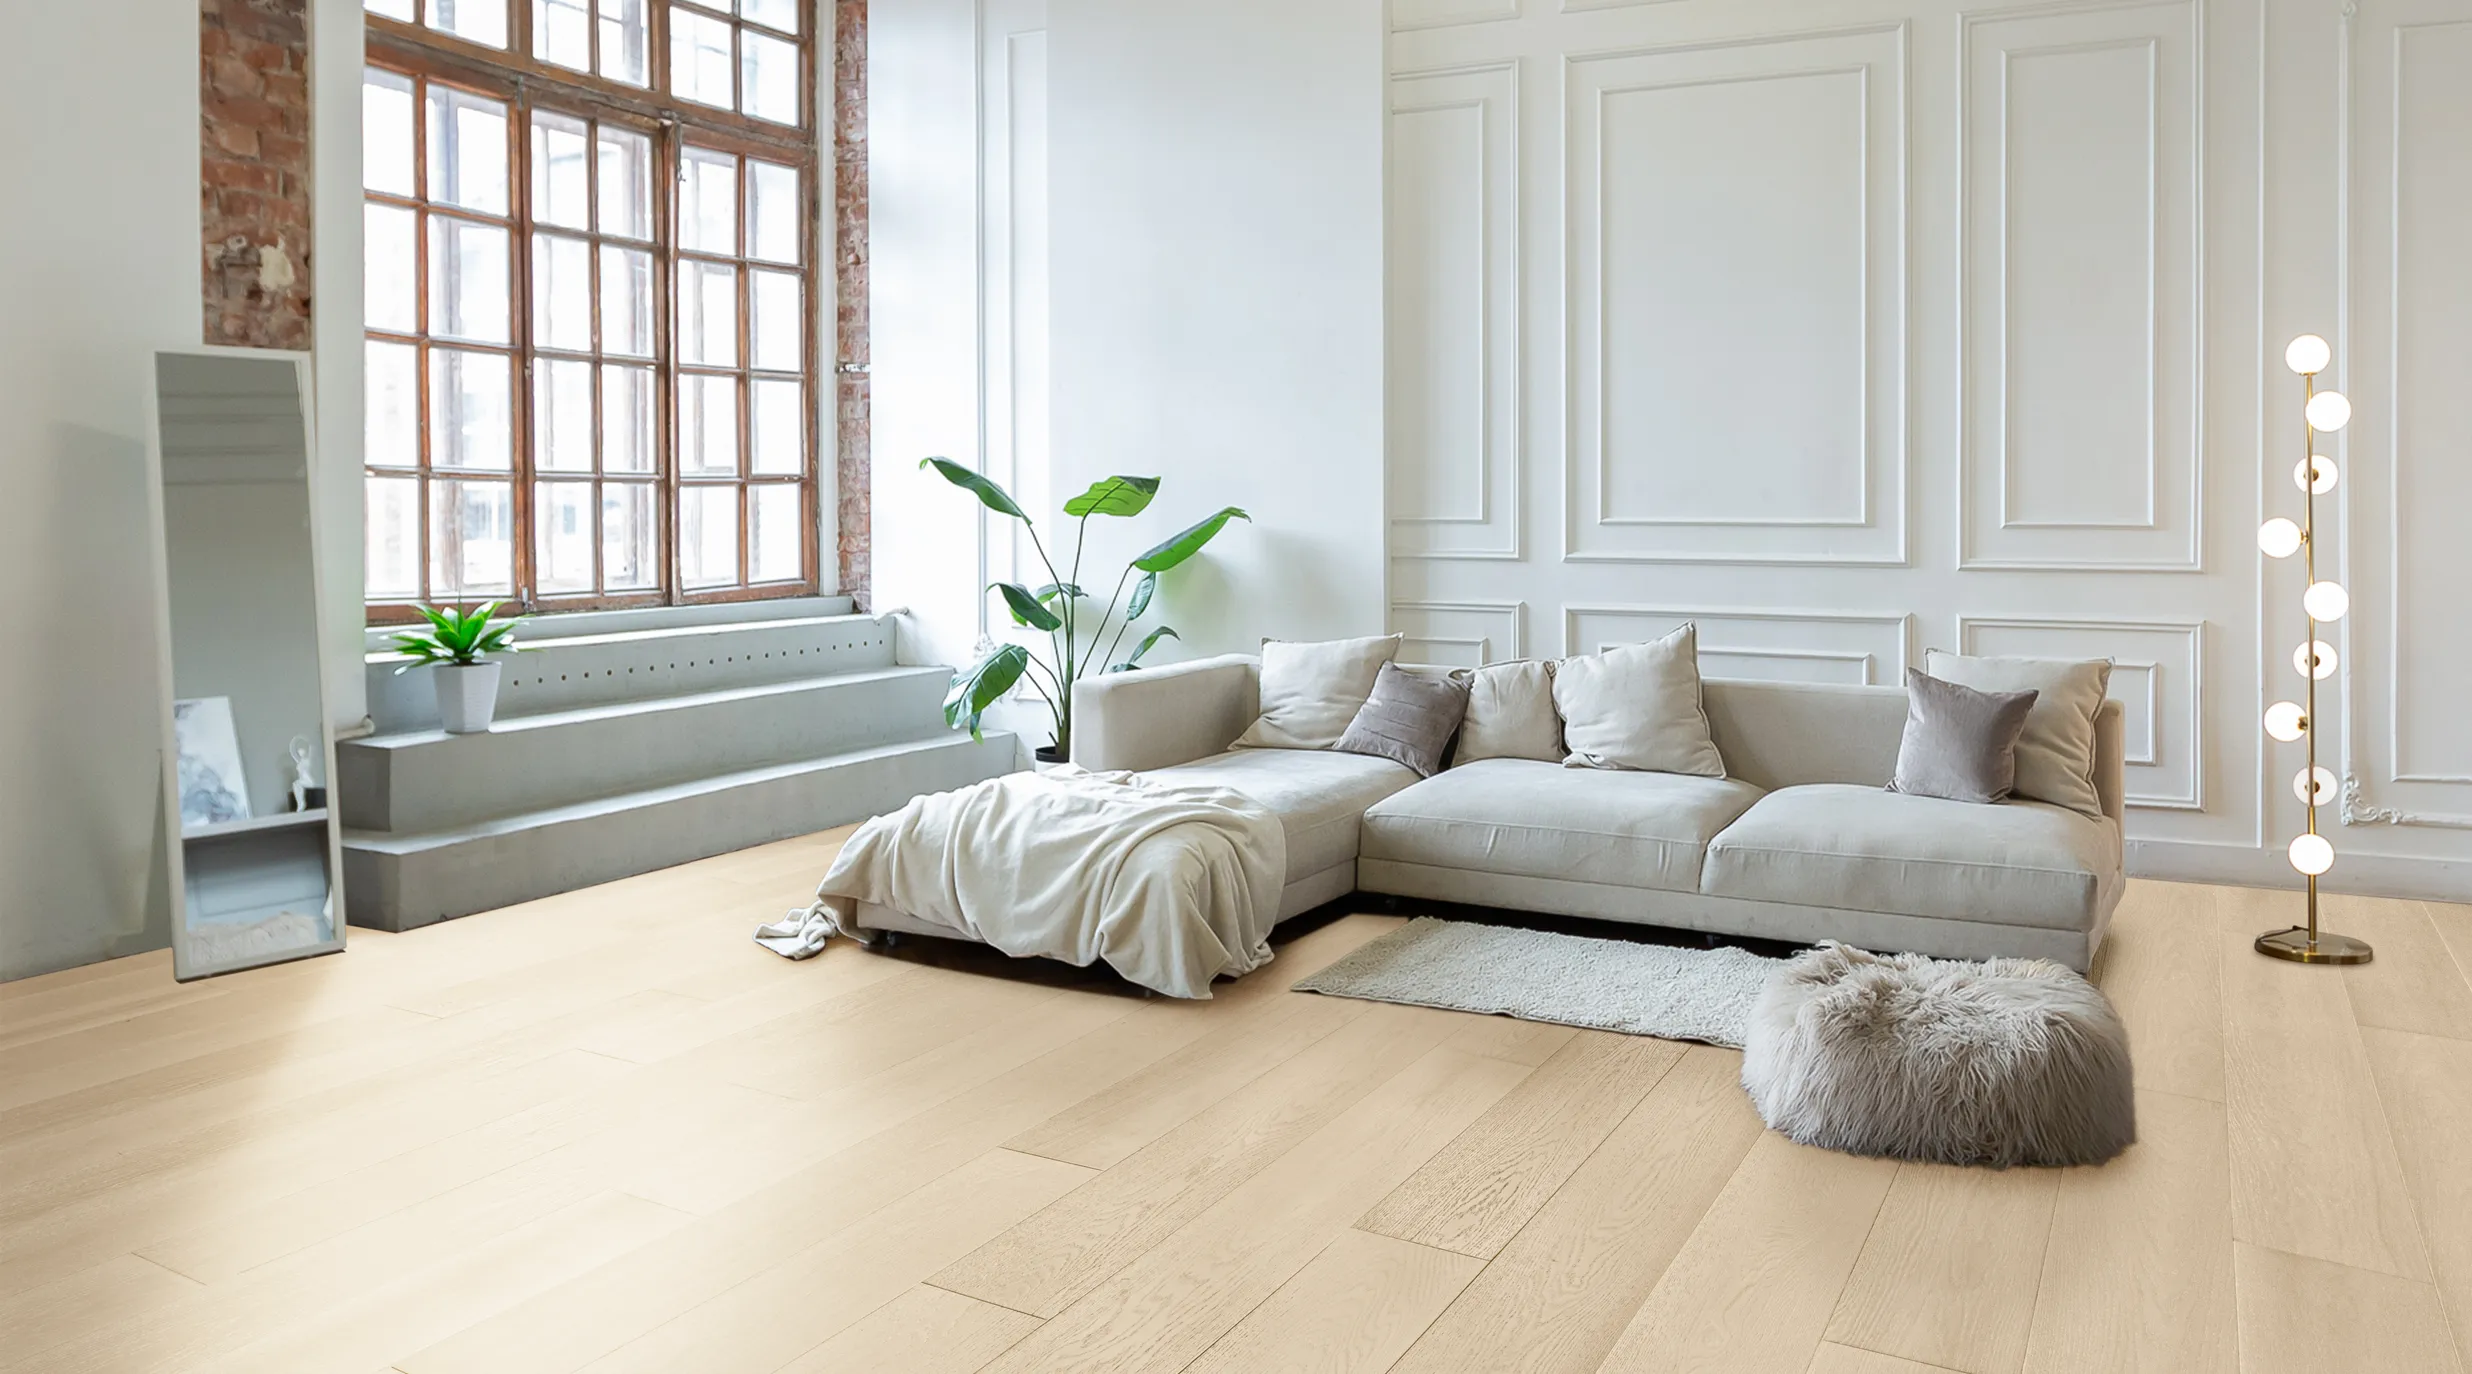
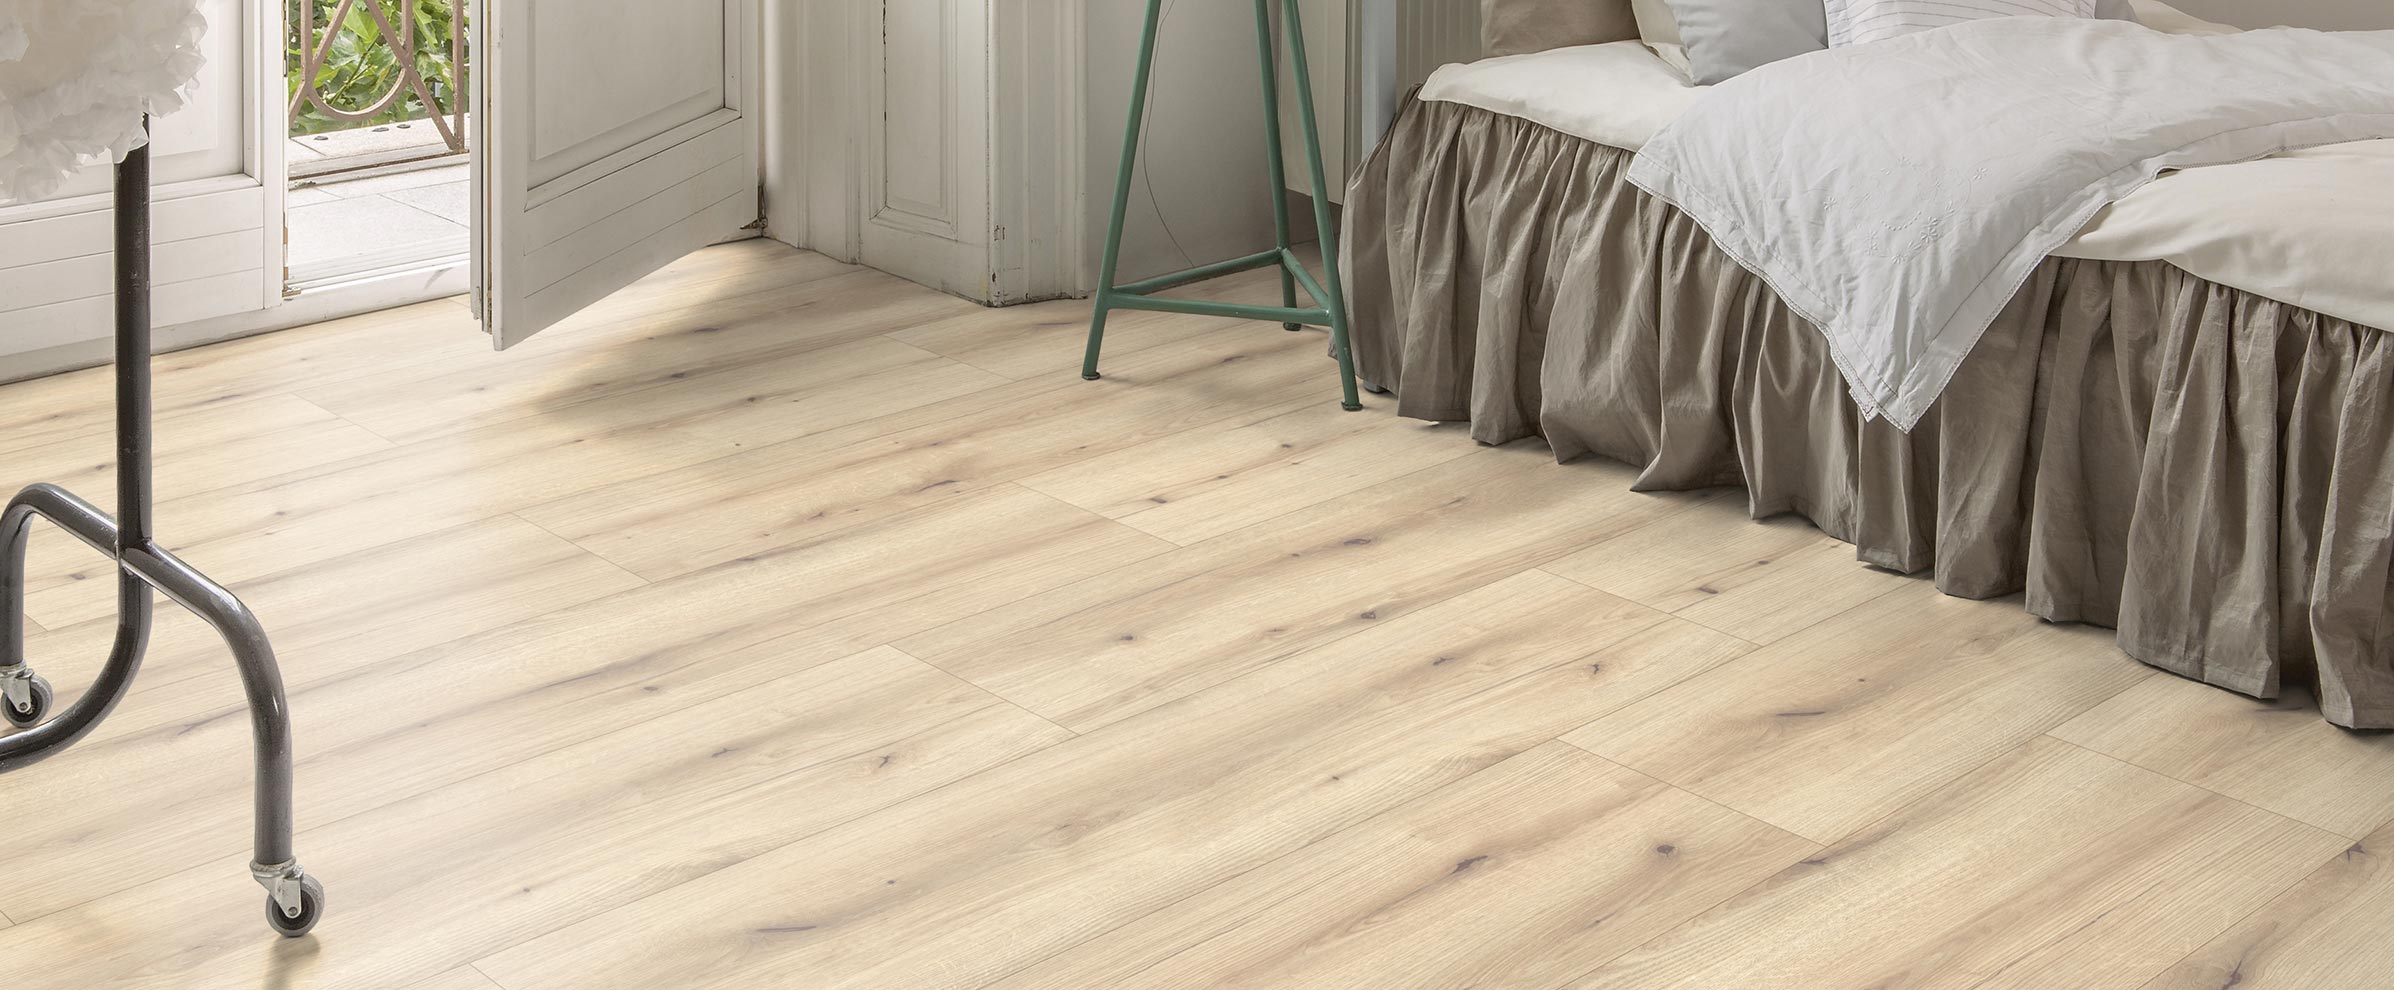
Often when people are looking to upgrade their homes with new hardwood or laminate flooring they often overlook the details like base boards and trims. They will spend many hours shopping and comparing prices on the net or drive from store to store. But they seldom give much consideration to the moldings. You can purchase an inexpensive floor and install new base boards and the job will look awesome. You can also install a high-end beautiful floor and remove and replace your existing base boards and if they don’t look good or they’re not wide enough to cover the required expansion gap you will be disappointed.
If your existing base board is in good shape and you want to keep it you have two choices: 1) You can remove it and replace it after the flooring is installed, or 2) You can leave it on the wall then leave the proper expansion gap between the floor and the base and cover it with quarter round or base shoe molding. Either method works fine. It’s all a matter of the final look you want.
Here are a couple photos of an install with just base and one with base board and quarter round. It’s really up to you as to which method you choose. Just be sure to figure the extra cost into your budget. If you try and remove and replace the existing base board and a piece or two should break be sure that style is still available so you can purchase replacements.
Many times through the years as I’m measuring a customer’s home for new flooring the same question arises time after time. I think I might want hardwood in my kitchen but I’m afraid of it getting wet. There are many factors to consider when choosing new flooring such as cost, appearance, wear etc. Each type of flooring whether choosing wood, laminate, tile, sheet vinyl or vinyl composite tile (VCT) all have advantages as well as drawbacks.
Ron Call, your Urbanfloor Guy
Tile is hard under the foot when standing and cooking and is cold on your feet when you’re making your morning coffee at 6 am. If the rest of your home and adjacent areas like your dining room or breakfast nook have beautiful hardwood, using sheet vinyl or VCT will probably detract from the overall look of your home. Have no fear; I’ve installed hundreds of kitchens with great success. Here are a few things to keep in mind when your floor is being installed. Make sure your contractor fills the entire perimeter (expansion gap) at cabinets behind the refrigerator and around islands with flexible clear silicone. This will prevent spilled water from getting underneath your floating floor or you’re glued down floor. Even a major spill can be mopped up before you can do much damage. Also never use inexpensive water based adhesive to glue down your hardwood floor in possible wet areas. Use a good urethane adhesive like Urban Four. I’ve seen glued down engineered floors completely flooded that once dried sustained no visible damage. Also if you’re a do-it-yourselfer and you’re planning on using one of the new glue less fold and lock floating floors in your home just use a little waterproof Titebond wood adhesive in the tongue and groove when you’re installing in the kitchen. This will prevent topical spills from seeping between the planks giving you time to mop up the spill. Lastly make sure you have a couple left over boxes of the original wood stored away in your home in case a few planks need replacing. Bon appetit..
“XOLCATION” is an original web series executive produced and created by Eduardo Xol (pronounced soul), who is best known for his work as a member of the design team for the two-time Emmy award-winning international hit, “Extreme Makeover Home Edition.” Eduardo continues to work in television, currently serving as a lifestyle expert on Utilisima, a Fox International Network reaching more than 21 million homes in 34 territories across the Americas and throughout the Balkans.
“XOLCATION” documents the renovation of a California weekend beach house belonging to celebrity couple Jennifer Finnigan and Jonathan Silverman. Eduardo assembled a special team of close friends and talented individuals for this project. The goal? To create a brand and product integrated web series that brings the “vacation at home” experience to an outdated living space, which is in much need of a facelift to truly become a home away from home to relax and enjoy as if on vacation.
The series begins with a special focus on the bathrooms and kitchen that quickly evolves into a much larger project. Eduardo’s inspiration for the renovation came from his first visit to Kohler, Wisconsin. When Eduardo began working with his clients, he decided to pitch the documentation of the project to KOHLER and “XOLCATION” was born.
This is the first complete renovation that Eduardo is fully in charge of since leaving “Extreme Makeover Home Edition”. It gives the viewer a rare and intimate look at Eduardo’s life while getting valuable information about planning and executing a home renovation project of this magnitude. “XOLCATION” is a hybrid of documented reality and produced entertainment. Kohler will be the main presenter of this web series and is co-producing the project with Eduardo’s production team at Eduardo Xol, Inc.
Eduardo’s cast for the web series includes his clients, Jennifer Finnigan and Jonathan Silverman. Finnigan is a three-time Emmy Award-winning actress, who next stars in the new David E. Kelly series “Monday Mornings” set to air on TNT. While Silverman is best known for his film role in “Weekend at Bernie’s, he recently wrapped the movie “Self Storage” and stars in and directed National Lampoon’s “Another Dirty Movie”.
Eduardo’s on-camera cast also includes Dinah Leffert (Project Manager), Richard Morales (Communications Director), Trey Payment (Personal Assistant), K.C. Morgan (Design and Build Associate), Bryan Cooper (Lead Carpenter) and Daniel Lopez (General Contractor). Alexander Jeffrey, who is not seen on camera, serves as the Director of the web series.
By: Denise Colestock, LEED A.P. BD+C, Urban Floor, San Diego Regional Account Executive
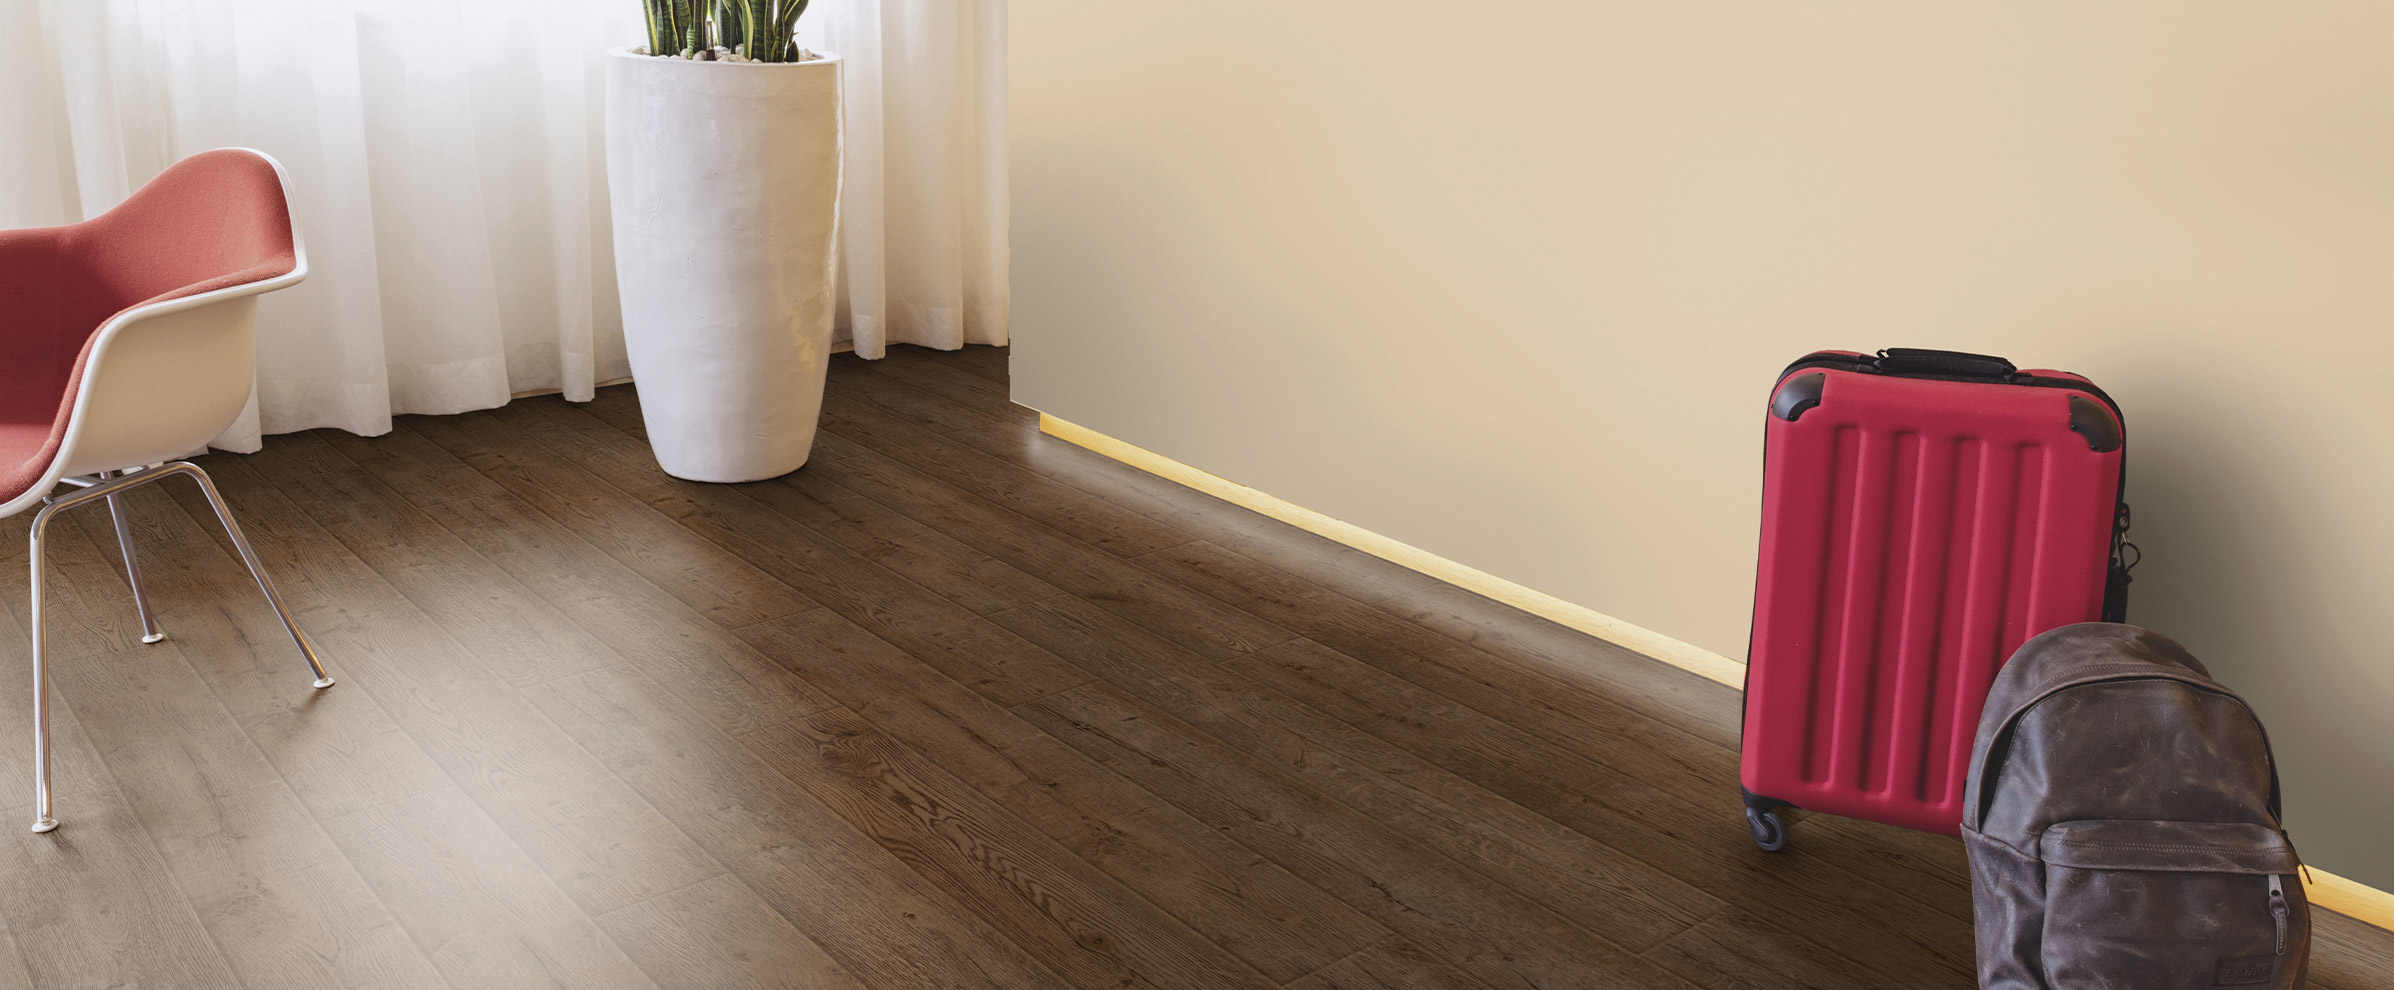
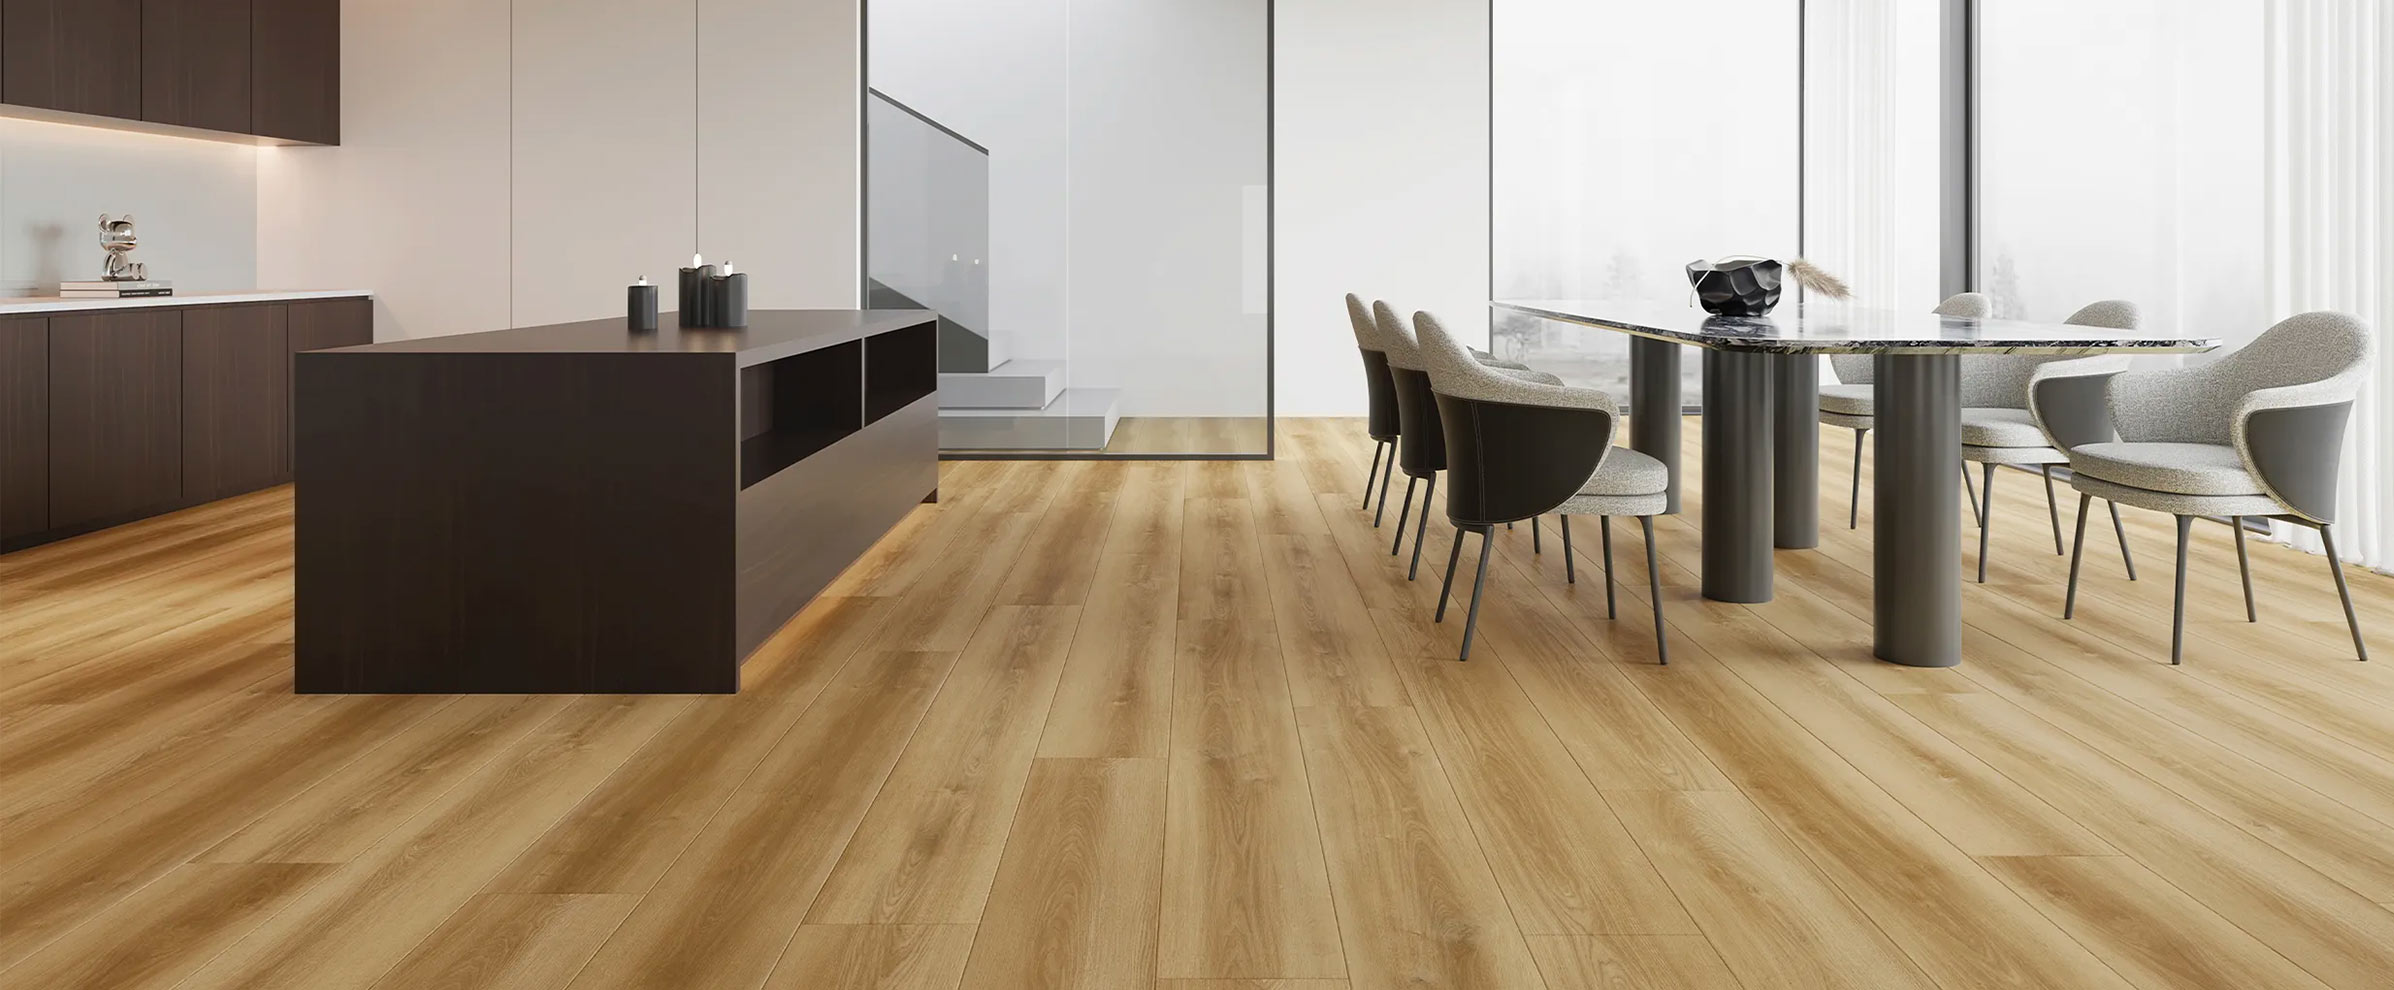
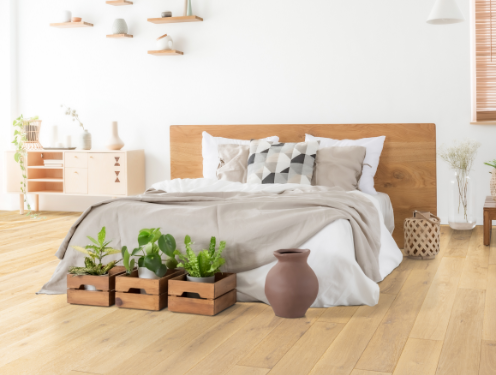
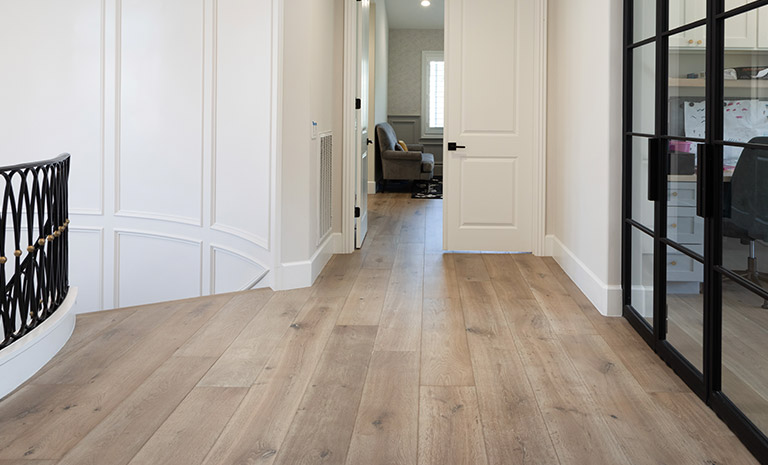
Welcome Home Collection (Birch- Ash Bark)
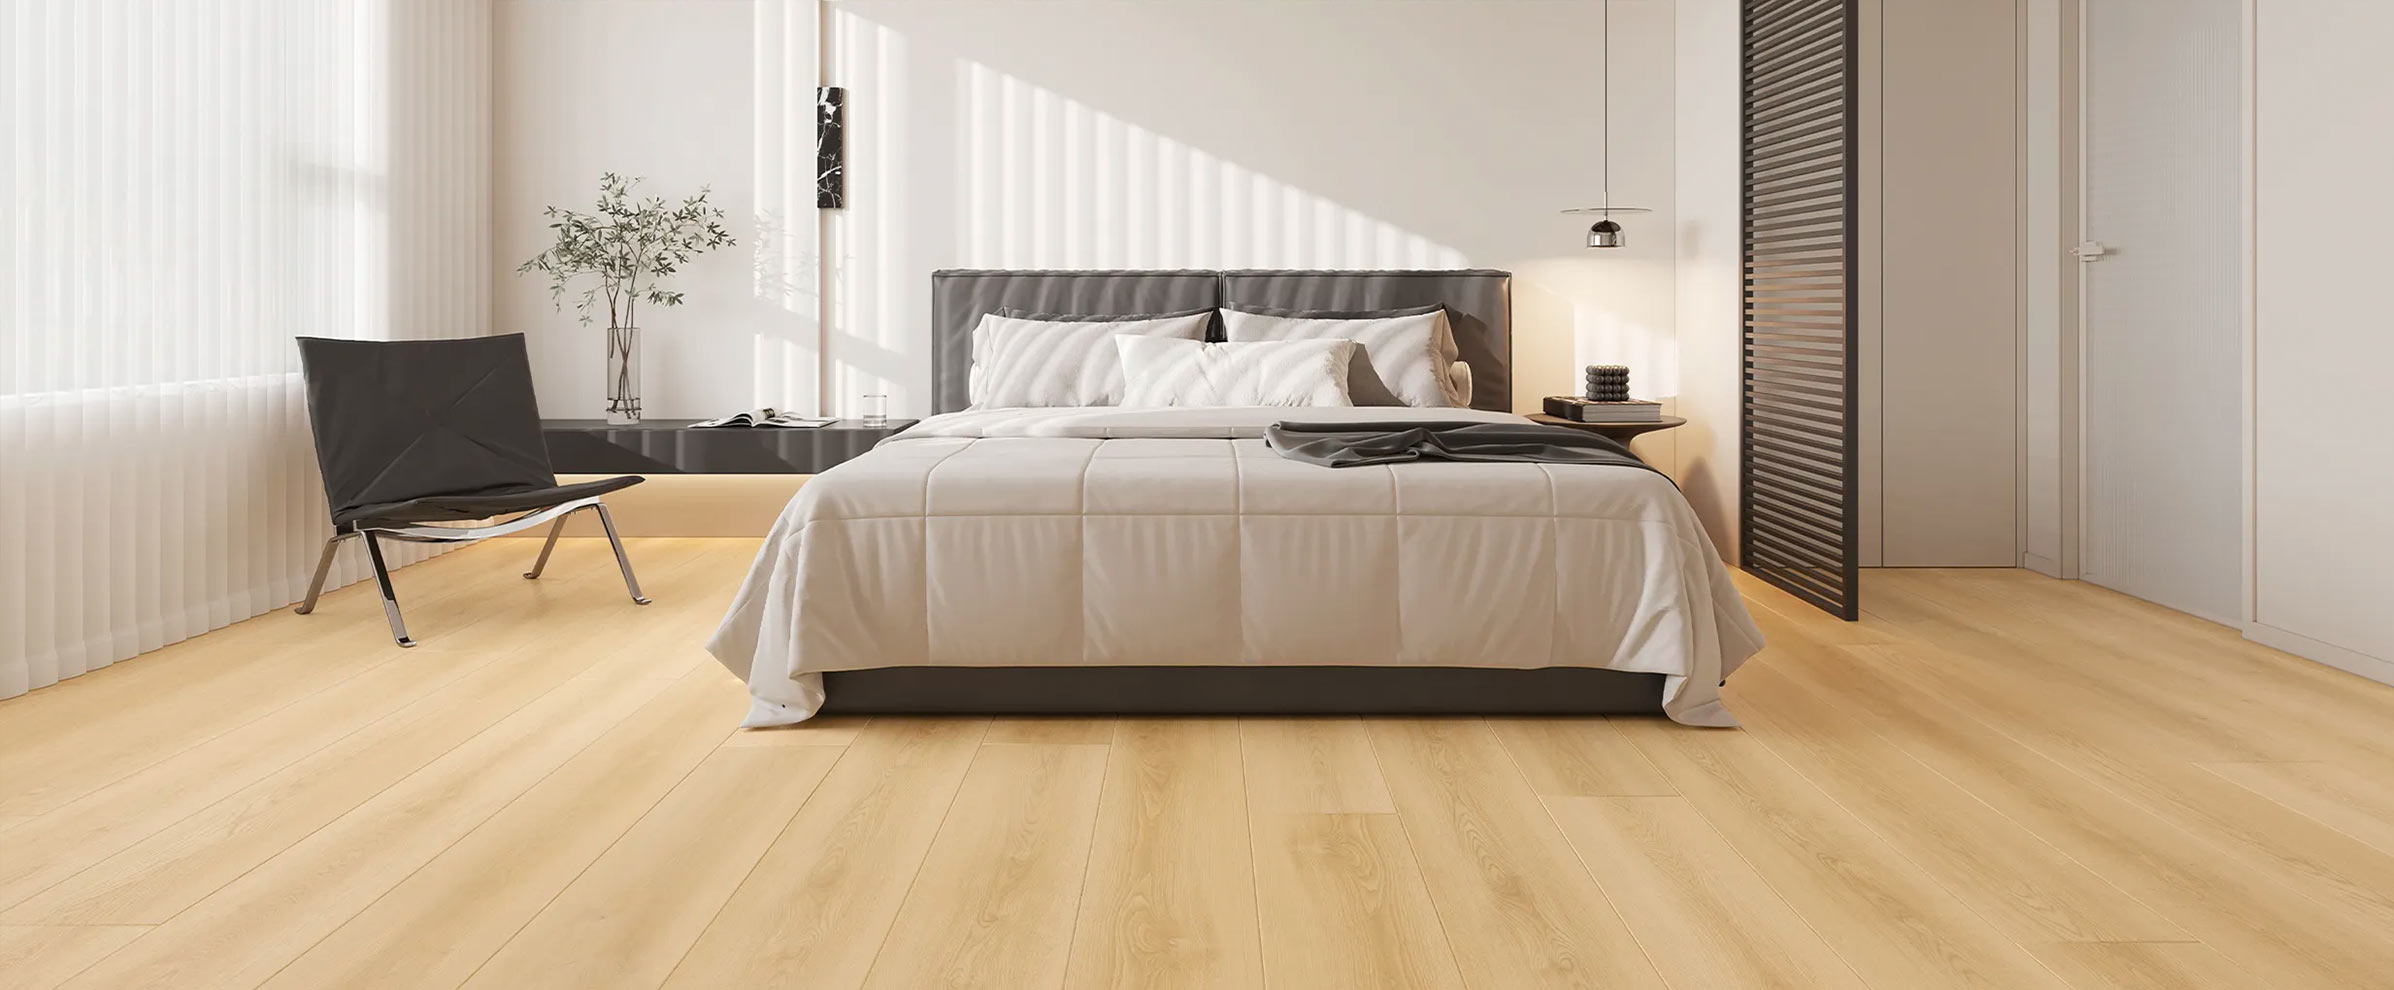
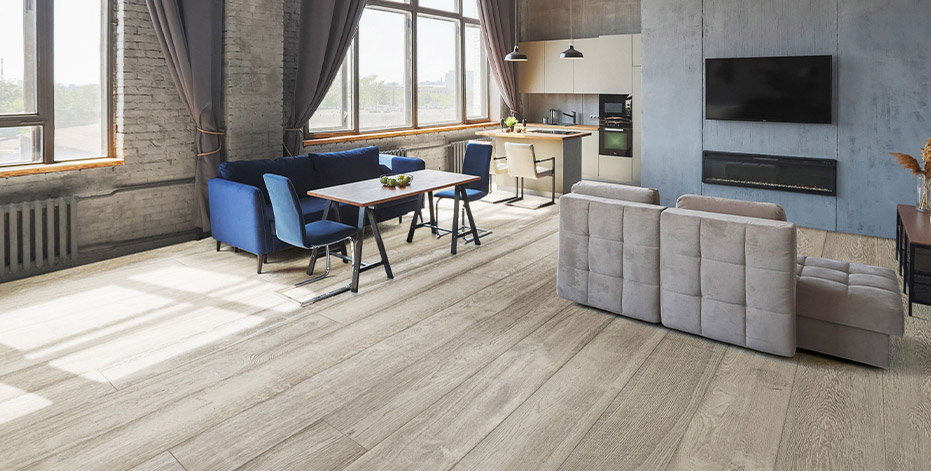
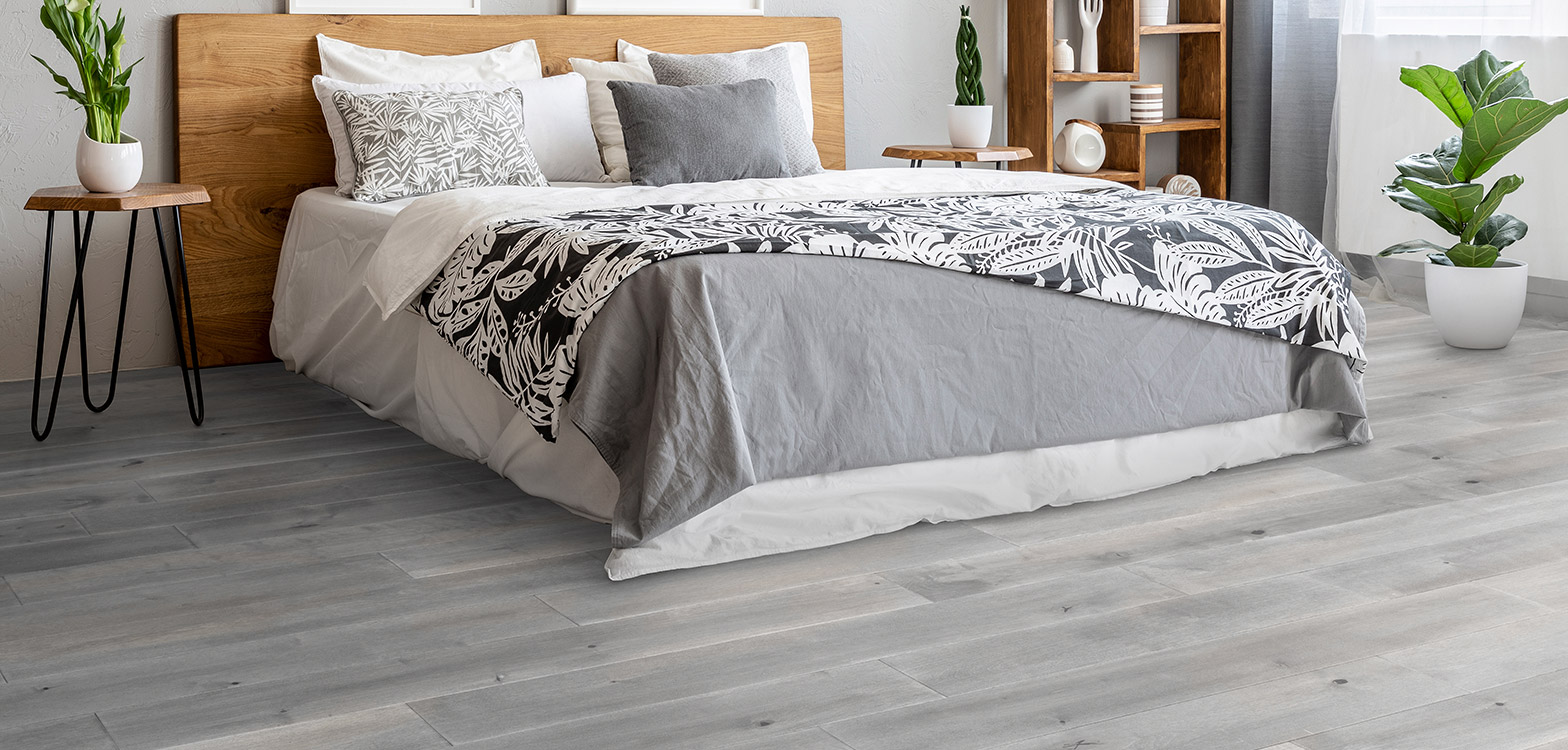
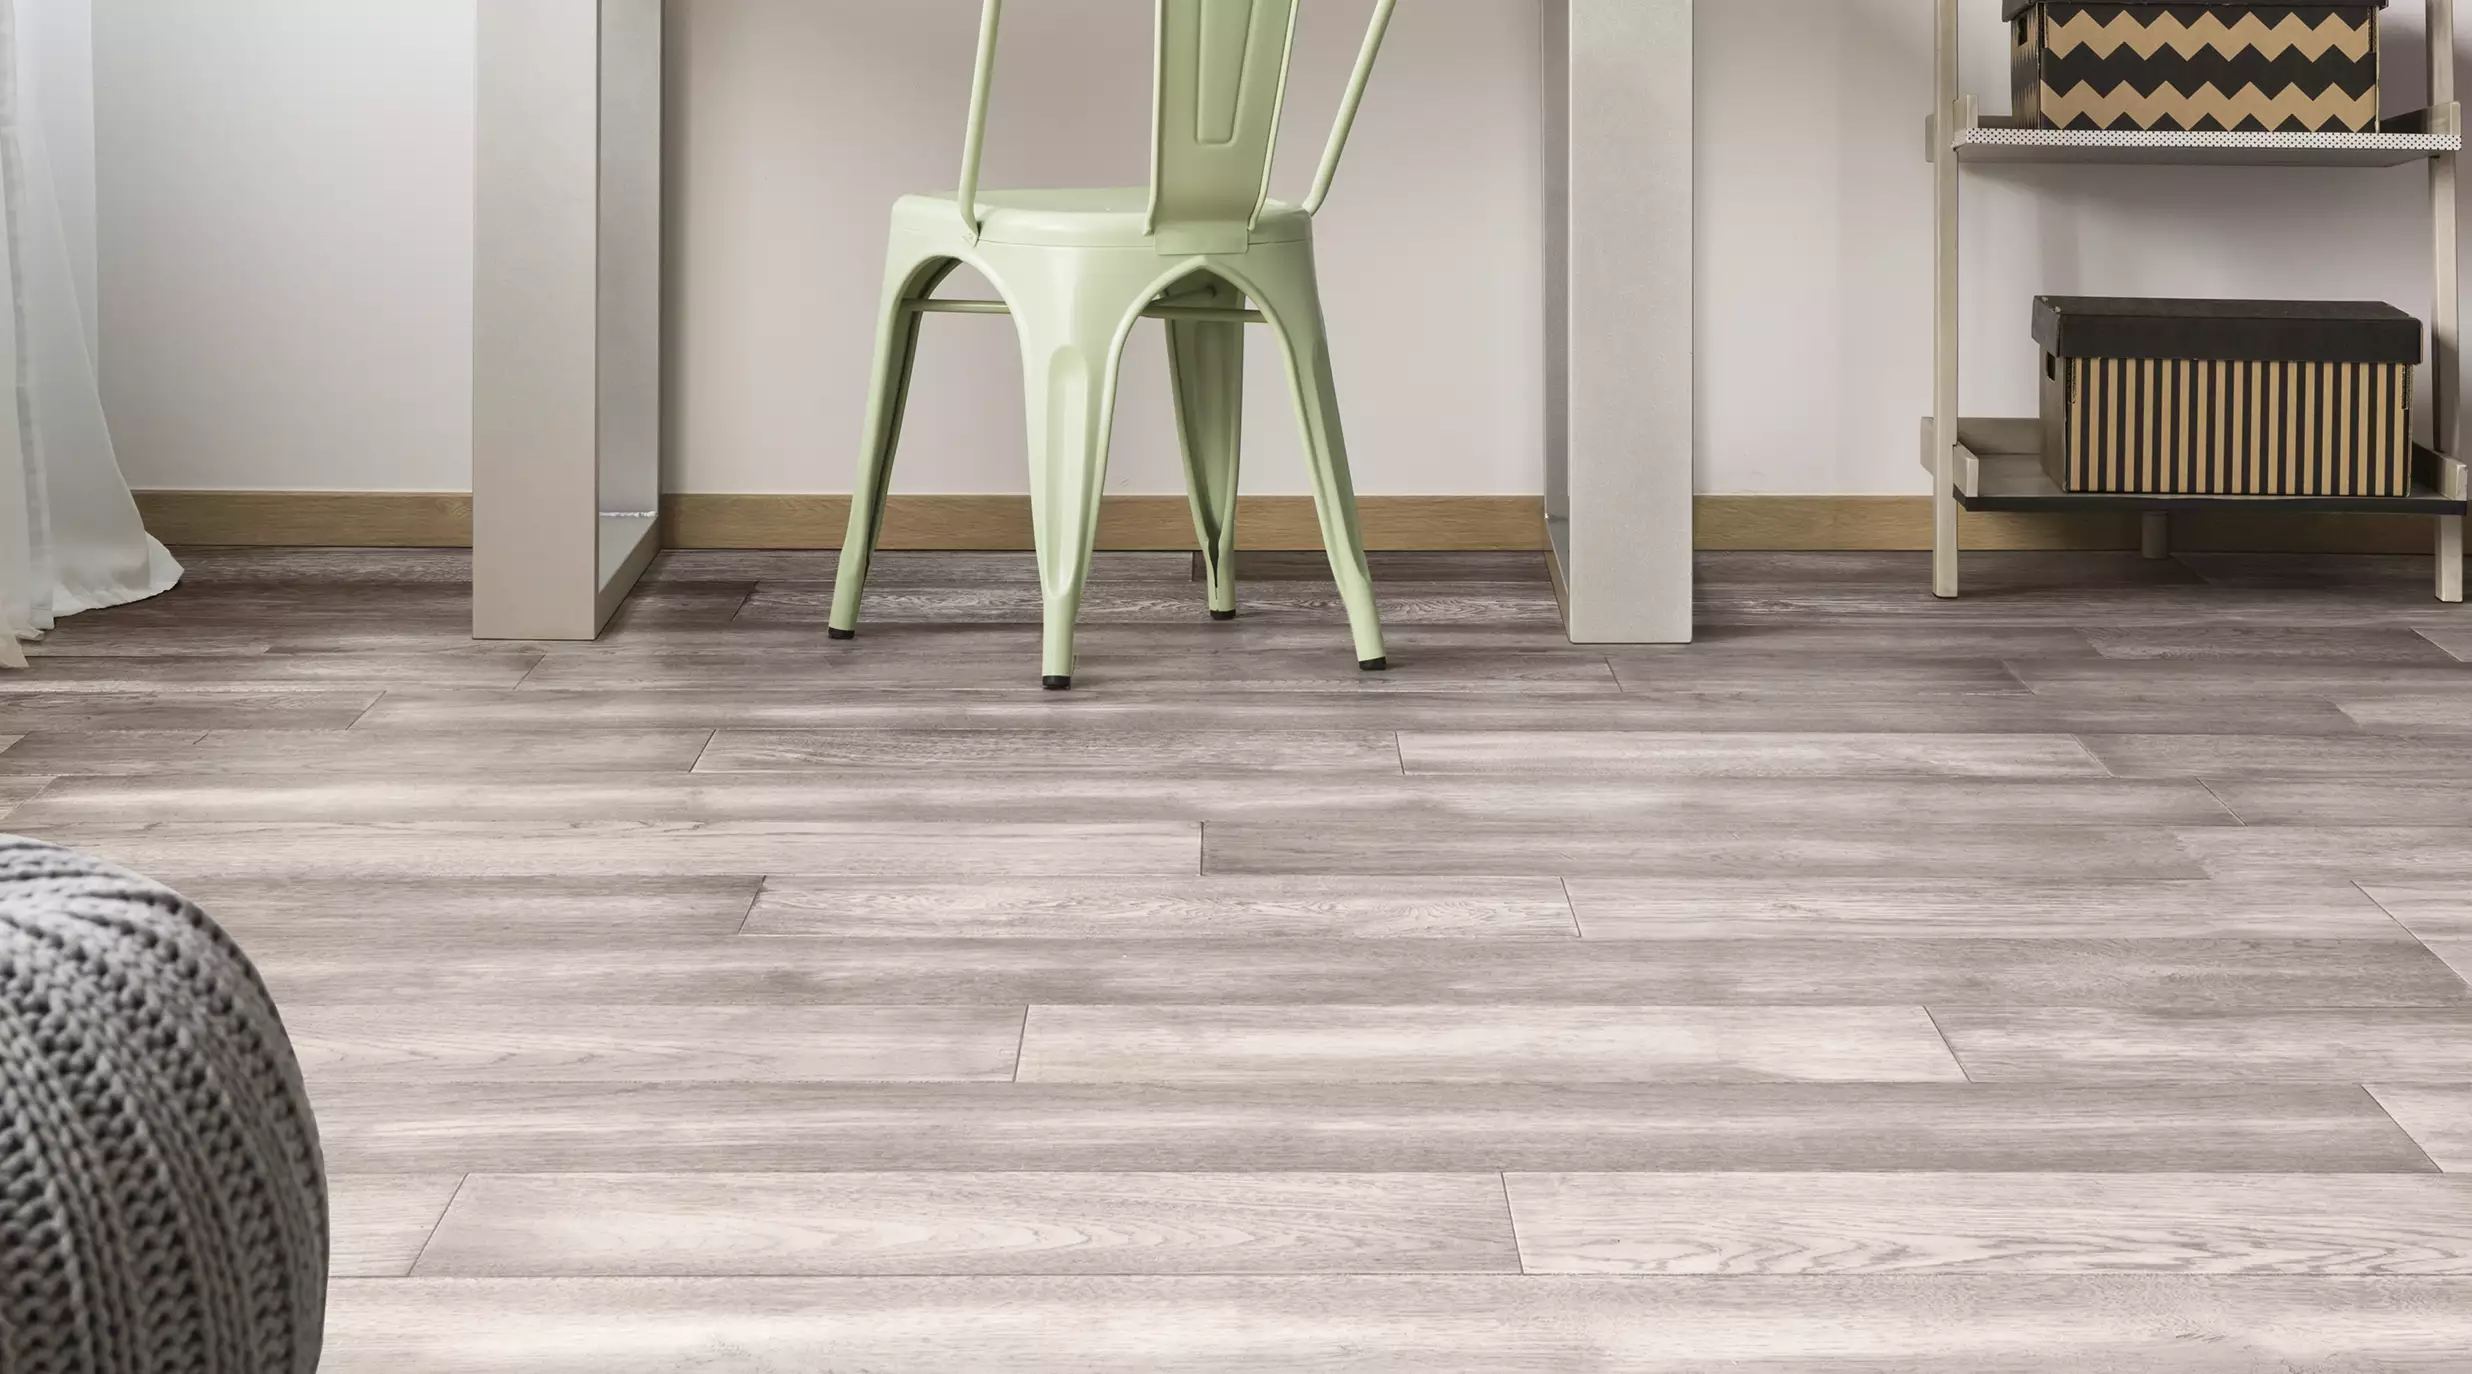
Okay, maybe not 50 shades of gray, but a few is what Urban Floor is looking at for our Urban Lifestyle collection. It seems that designers and consumers are looking for wood floors in shades of gray for residential and commercial use. And how can we ignore the trends? We aren’t. We have started the research and design phase of adding gray shades to our wood collections to make sure our clients find what they need and want.
We have been reviewing feedback from our dealers, designers and in-field representatives to make sure we find the shades that are right for our clients- popular grays and perhaps even some that inspire new ideas and trends. We do have a gray in our Welcome Home Collection in Birch Ash Bark but we feel our clients need more choices when it comes to price, smooth, handscraped and wear layer thickness.
Staying on top of trends is important to Urban Floor, but so is traditional and classic design. As we add style to our collections, you will not have to worry about losing the look that has always worked. We strive to keep our clients satisfied and well-acquainted with our products.
Denise Colestock, LEED A.P. BD+C
Denise is an integral member of Team Urban and keeps Urbanfloor “fashion forward.” She has a background in design and architecture with an emphasis in sustainable design. In her free time she enjoys hiking, paddle boarding, traveling, reading, running and yoga- usually with her active toddler in tow. Denise even has her own urban farm which satisfies her passion for local, healthy eating- and introducing her son early to nature in its purest form. If you have any questions regarding environmentally friendly design you can contact Denise directly at denise@urbanfloor.com.
Because trees are a renewable resource that can be replaced time and time again wood flooring is the most abundantly renewable flooring material available. Sustainable forest management makes it possible to harvest wood without any serious impact on the environment. Here at Urbanfloor we only use products from ecologically managed forests and suppliers.
8 Environmental Facts of Hardwood Floors:
Average annual net growth for hardwoods is greater than average annual removals (Source: US Department of Agriculture Forest Service)
Trees absorb CO2 from the air and store it (Source: Wood for Good)
Indoor air quality is better with wood floors (Source: US Environmental Protection Agency)
Wood is a carbon neutral product that produces oxygen during its growth cycle and stores carbon during its service life (Source: University of Wisconsin Wood Products Program Solid Wood Flooring Life Cycle Analysis)
Wood floors use less water and energy to produce than other flooring options (Source: University of Wisconsin Wood Products Program Solid Wood Flooring Life Cycle Analysis)
At the end of its service life, wood flooring can be burned as fuel or recycled (Source: University of Wisconsin Wood Products Program Solid Wood Flooring Life Cycle Analysis)
Wood floors last hundreds of years, so they won’t need to be replaced as often as other flooring options (Source: National Association of Home Builders)
While it takes most hardwood trees 40-60 years to mature, the inventory planted today won’t be needed for 100-plus years (Source: National Wood Flooring Association)
You can learn more about the environmental benefits of wood floors by downloading a copy of the University of Wisconsin Wood Products Program Solid Wood Flooring Life Cycle Analysis or by visiting the NWFA website.