Refinishing Your Hardwood Floor

url-73
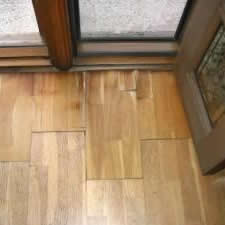
The first step to refinishing your hardwood flooring is deciding whether your project needs a complete refinishing job.  If the floor is clearly damaged from flooding or stains, you may need to repair before refinishing. Remember that your floors need to be at least 3/4’’ thick. To avoid sanding down to the sub-floor, check with a professional if your floor is thinner than ¾.’’ Realize that if your floor is slightly thinner, it may not be able to be refinished. Pay close attention to the flooring beneath the hardwood. If there is a floor covering underneath, remove the old floor first.

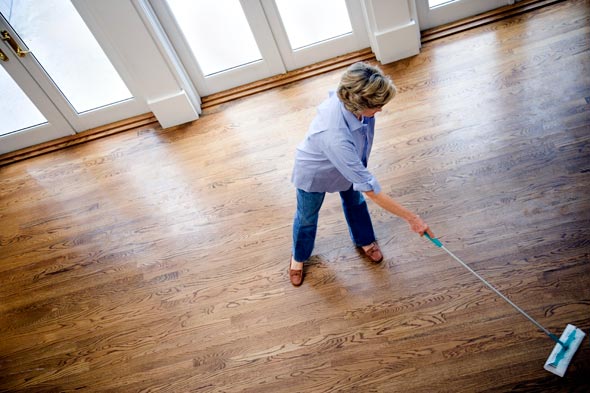
Home improvement jobs take a lot of preparation, analyzing, and time before beginning the work. The floor must be cleaned and sanded properly in order to start the refinishing process. Make sure everything is cleared out of the room. Remove all furniture and closet items and cover all light fixtures. Next, remove shoe moulding by wedging a pry bar between the moulding and the wall. Place a block of wood behind a bar to prevent damage. Seal the door with masking tape in order to close off the room from the rest of your space. Lastly, vacuum the floor to remove dirt.

Now it’s time for sanding! A drum sander is the perfect tool to use. Most of the time these tools can be rented. A few tips for using this are:

  • Step 1
    • Begin sanding in the center of the room. Sand with the grain from one end of the room to the other, overlapping passes by an inch or two. Repeat the procedure on the other half of the room. Sand the entire center portion of the floor.
  • Step 2
    • After the main portion of the floor has been sanded with the drum sander, hand-sand or use an edge sander to sand areas where the drum sander did not reach. Use the same grit sandpaper you used with the drum sander. You may need to hand-sand or use a detail sander to reach the corners.
  • Step 3
    • When the entire floor is finished, vacuum and repeat the entire process using smaller grit (larger number) sandpaper with each pass.
  • Step 4
    • Finish by sanding the entire floor with 120 grit sandpaper.
  • Step 5
    • After the last sanding, vacuum once more and wipe with a dry cloth or tack cloth

Staining your floor

You can apply a clear sealer to your newly refinished floor or apply a stain, water- or oil-based. Some stains require more than one coat with a sanding between. Remember to keep the furniture out of the room until the floor is completely dry. After the floor is dry, reinstall the shoe moulding. To get the best finish, buff the floor after staining or sealing.

Many people are attracted to wood floors because of their elegant and quality appearance. They are a beautiful addition to a home and they are also an eco-friendly choice. Wood flooring is environmentally friendly.

Wood is a carbon neutral product and provides oxygen during its life cycle.

Indoor air quality is greatly improved when wood floors are present and installed correctly.

Production of wood flooring saves natural resources because they use less water and energy than other materials.

Another great benefit of wood flooring is that it can most definitely be recycled or burned as fuel. This is not the case for various other flooring options.

Aside from looking wonderful in a home, wood floors are truly the best option when deciding on an eco-friendly material. They last for decades and do not need to be replaced frequently, if ever! Who would have thought those beautiful wood floors you step on every day could be helping the environment? url-14

Let’s get basic! Why not? You’re on our page because you might be considering installing wood flooring into your home. Awesome thought. Now let’s learn a little about how wood floors can benefit your home, family, and life! First off, wood floors reveal a sense of elegance when entering a home. They immediately project comfort and style along with a right-at-home feeling.  Because wood floors are natural, they bring a positive environmental factor right into your home.  A great thing about wood floors is that there are so many styles to choose from to match any type of décor.  Every different type of wood has a unique style, design, texture, and color. The options are almost limitless when it comes to customizing your dream floor. Because hardwood is top-notch quality, your home will always stay beautiful as long as the right maintenance is put into keeping your floors the same quality as if they were just bought!

Hardwood lasts for decades. There is no doubt that it reminds sustainable for many years. It is fairly easy to maintain also. Dust mopping on a regular basis will keep your floors looking new as well as the occasional approved cleanser. For those who love to go green, wood flooring has tremendous environmental benefits. Wood floors use less water and energy to produce than other possible flooring options such as laminate or tile. Although they last hundreds of years, the flooring can be recycled! Indoor air quality is even improved when hardwood is installed. Your health will begin to see benefits from your wood floor too. Dust, mold, mites, and dirt build up on carpets, irritating colds, allergies, and other health problems. Allergy sufferers find many pros when it comes to wood floors because of the improvement in air quality.We all know wood flooring is quite an investment. Even though this is true, it is ultimately a great long term investment because it increases the value of your property and adds a beautiful charm to the overall feeling and appearance of your home.
url-4

Picking the Perfect Area Rug for Your Flooring

A bedroom is a place to call your sanctuary. To have the most comforting satisfaction, most people want their decorations and flooring to be just right. Hardwood flooring of course adds elegance and style, especially to a bedroom. It can also add value to your home! Before you make a decision about what kind of flooring best suits you and your style, consider how long you plan on staying in a certain spot (as flooring can be expensive), consider design trends that match with the flooring you choose, and also be aware that it is perfectly okay to design your home  by using area rugs that complement the room’s theme. These come in a variety of sizes, styles, and colors. If placing an area rug on top of your wood floor, remember that hardwood has many benefits such as quality and durability. This means that you do not want to take away the beauty of your hardwood floors by choosing the wrong area rug. A few simple steps will help you find the perfect rug to fit your style.

1. Measure. Of course you need to know what size rug you need to fit the space you are looking to place it. The key idea is to find a rug that does not cover the entire floor, but to leave enough space to be able to see the beautiful wood.

2. Style says it all.  First recognize the color of your floors. The color of the rug and color of the floors should contrast each other. Also, consider those objects around you. What color are the walls? What does your furniture look like? For lighter furniture and cherry wood floors, a traditional area rug would look perfect. These kinds of rugs show many patterns such as diamonds or flowers.

3. Texture is important too! You want to feel comfortable when walking on your brand new area rug. A woven texture tends to be rough, a braided texture is more relaxed and soft, and a bamboo texture is rough.

Final tip: Padding prevents the rug from sliding which is perfect for it to stay in place. The padding should be an inch shorter than the rug itself.


How to Install a Hardwood Floor

DIY experts take us step-by-step to help install beautiful wood floors

Step 1: Choose the Boards

Choose the hardwood species and board widths for the room installation.

Step 2: Measure the Room

Measure the width and length of the room and multiply for the square footage. When ordering hardwood flooring, allow 10-15 percent extra for irregular boards and any cutting mistake.

Step 3: Check for a Squeaky Floor

Check the sub-floor. Minimum requirements are a 3/4″ plywood sub-floor. Make sure there are no squeaks in the floor. If there’s a squeak, screw a long drywall screw into the sub-floor and joist where the squeak occurs. Remove shoe-molding from the room and sweep and clean thoroughly.

Step 4: Roll Out the Vapor Barrier Paper

Roll out strips of vapor barrier paper, allowing at least a 4″ overlap and staple securely to the sub-floor. Use 15 pound tar paper or felt. It is relatively inexpensive (it’s approximately $12 a roll at a home improvement store). Mark with a pencil along the baseboards where the joists are located.

Step 5: Start Installation

Start the installation at the longest unobstructed wall. Remove the shoe molding, and snap a chalk line 3/8″ out from the baseboard (this allows for expansion in the hot, humid weather and contraction in the colder, drier weather of the hardwood flooring).

Step 6: Place the Boards

Begin by selecting a long board to start the first row. Pick one that is straight. Align the edge of the board with the chalk line and drill pilot holes down through the hardwood plank and into the sub-floor and joist. Face-nail each board at the point of every joist and set the nail with a nail-set. Face-nail the entire first row and remember to keep the board lengths random. It is important to face-nail the first row because the pneumatic nail can’t get down in there. It will hit the wall and the force would push the wood against the baseboard, which would lose the 3/8″ expansion and contraction.

It is important to lay the first boards perpendicular to the joists which are underneath. That is important because you want a nice solid anchor. Look at the subfloor to see which way the nails and seams ran. Try to go underneath the crawl space to see how they run.

Step 7: Hand-Nail the Rolls

After the first few rows have been installed, drill pilot holes down into the tongue of each board and hand-nail the rolls until there is enough clearance for the pneumatic nail gun.

Tip: Lay out a box of hardwood boards ahead of the installation to visualize lengths, wood grain and colors of the boards. When laying out the boards, keep in mind to never have the ends of boards in adjacent rows line up with each other. Keep the lengths random and at least 6″ in length.

Step 8: Staple the Boards

Using the pneumatic nail gun, place the gun lip over the edge of the board and strike firmly with the mallet, driving the staple into the tongue of the hardwood plank.

When installing up to a threshold, it is not critical to make cuts exact. Come back later after the floor has been installed and use a circular saw to cut across for a precise cut.

use pneumatic nail gun to staple tongue into plank

Step 9: Cutting the Baseboard

When cutting along the baseboards, select a piece that will fit in there and leave 10 or 12 inches more and cut it off. Use the other piece on the beginning of the next row. You don’t always have to get it in there real close and throw out the end piece. That will save some time and waste.

use cut off boards from one row to start next row

Step 10: Fill in the Gaps

Be sensitive to the way the ends fit together. One end has a tongue and the other end has a groove — this is called end matched. Make sure to always cut the wall end of the wood so that you do not cut off the groove that fits to the tongue. If that happens, that would result in a pretty big gap. Find a piece and lay it alongside the hole and flip it over. Make sure when you make the mark to cut off the wall side, not the room side. When you make the mark, butt it up against the baseboard and then mark at the end of that tongue. That will leave a 3/8″ gap for expansion and contraction when installing the piece.

Note: Before nailing, make sure to put at least two nails in every board. The rule of thumb is to place a nail every 10″ to 12″.

Step 11: Work Around Clearance Issue

As you near the opposite wall, clearance for the pneumatic nail gun again becomes an issue. Drill pilot holes and hand-nail the boards until there is no longer clearance for the drill and hammer. At that point, drill pilot holes down into the top of the boards and face-nail the boards, remembering to set the nails with a nail-set.

Tip: Use a pry bar and a few extra scraps of flooring to firmly seat the hardwood plank as you nail.

Step 12: Fit Last Board Into Place

If there’s a narrow gap for the last board, take a measurement and rip (cut length-wise) the last board to fit into place. Remember to leave a 3/8″ gap at the end wall for expansion and contraction space.

Step 13: Fill Holes With Wood Putty

Replace shoe molding in the room and putty all of the nail holes that have been face-nailed. Be sure to get wood putty that matches the floor. Fill the hole and wipe off the excess.

Step 14: Hardwood Floor Maintenance

Maintenance is easy for a pre-finished hardwood floor — keep grit off of the surface by sweeping regularly and use a flooring cleaning kit (alcohol-based) and spray on and wipe off with a damp cloth. Hardwood floors also help cut down on dust mites.

See more pictures and examples at http://bit.ly/129zwQu

Cleaning Your Hardwood

Hardwood floors are unique. They add taste, style, and elegance to your home. We all know that wood floors are an expensive purchase. Therefore, it is important to keep them looking just as they did when you first installed them. Although not all hardwood floors are the same, they all need special treatment to keep them clean.  The first step is simple—make sure you have a soft bristle broom in handy for those daily dust removing touch ups. Avoid using brooms that have hard bristles because they may damage the floors. If you choose to vacuum, be sure not to scratch the floor. The hose attachment may be helpful to gather extra dust near the baseboards of the floor. The attachment is a safer choice because it is difficult to repair damaged wood caused by a vacuum.  If a water spill occurs, wipe it immediately with a towel.  Use a dry-damp mop so that extra water does not seam into the floor. Now that the simple cleaning rules are understood, more extensive care may have to occur if the floor is beginning to look dull. If this happens, waxing and buffing the floor can be done by using a buffer machinurle. Most of the time, wood floors needs a good mop cleaning when it comes to certain stains that are sometimes unavoidable, especially with a full house. Most of the time, a damp cloth will do the trick. Remember to dry the spot so that water is not left behind. Of course there are products and solutions on the market that help when it comes to spills or accidents. Most products contain wax which gives the floors an extra glow. Depending on the type of floors in your house, it is always best to find a solution best fit for the kind and quality of floor you have. Important tip: Be sure to never dump an entire bucket of solution onto the floor. It could leave unwanted streak marks. Remember that to keep your hardwood in its best condition, maintain its quality by cleaning and dusting it frequently.

Engineered Wood Flooring and its Benefits

Ever wonder about engineered hardwood? The fact is, it’s actually real hardwood!  There are many benefits of choosing an engineered product.  To help you understand the basics, engineered hardwoods are made up of layers that are “glued together in a cross-grain construction.” It is stronger than a piece of solid wood and can be installed direct to concrete.  The top layer of the hardwood “provides the most uniform color and the most resistance to seasonal expansion.” If concerned about the environmental factors of your flooring, engineered hardwood has beneficial aspects when it comes to the Earth.  It uses half as many trees as solid wood floors and takes less water and url-25energy to produce than other flooring options.

If considering engineered wood flooring for your home, the main question you might ask is: What’s the advantage of using an Engineered wood floor over a Solid nail down floor? The answer is simple.

“Engineered hardwood floors can be installed in areas where there is slightly higher relative humidity levels. Engineered wood flooring being more stable is a great choice to use in summer homes where the heat is turned lower when no one is there. Because manufacturing engineered flooring does not waste valuable prized wood below its wear layer, purchasing engineered flooring also helps conserve our forests.”

How to Create a Built-in-Bookshelf

As we all know, flooring has numerous factors that complement color, shade, the type of wood, and more. Design, care, and maintenance are just a few aspects that go hand-in-hand with the flooring that you choose. Decoration and color are key factors to a wonderful, breathtaking room.  Sometimes these additions can become expensive. Why not create a decoration yourselfurl-10? Many might be thinking– where is my talent and money that must go into this process? No need to worry. Following a few steps will help create a decoration or addition that you have always wanted. Today we are going to discuss a popular trend that is seen in many living rooms and bedrooms..Built-in bookshelves! In my opinion, I believe these are great for show, and for also saving space on a regular bookshelf. The trick is a 12-step process that will bring you from scattered supplies to a magnificent creation. After-all, if you can read, you can build!

One,  you need to measure and cut the shelving. Measure the shelves in relation to the space you will be inserting them.  Cut the pieces of shelving and using a circular saw, cut out the kick-plate area on the bottom of the unit.

Two, you must cut rabbet joints into the ends of the top shelf, cutting straight across the shelf into 1/8’’ increments

Three,  “Mark the location for the center shelf, and use the pegboard as a template for drilling holes for adjustable shelves. Clamp the pegboard in place so that the first holes will be 4″ above and 4″ below the center shelf. Draw reference lines across the holes in the pegboard to help you keep the holes even. Drill holes 2″ from the edge in 2″ increments.”

Four, attach 1’’x 2’’ support blocks for the center shelf with glue and finish nails. “Drill and countersink pilot holes for the top of the bookshelf. Attach it with glue and 2″ wood screws. Apply wood glue to the support blocks for the center shelf, and set the shelf in position. Drill and countersink pilot holes in the side of the bookshelf, and attach the shelf with 2″ wood screws (Image 2). Be sure to drill the holes in an area that will be covered when the bookshelf is recessed into the wall”.

Five, attach support blocks for the bottom shelf with glue and nails

Six, Fasten the back panel with 1’’ brads to help the shelf stay square

Seven, “Attach 1″ x 2″ trim pieces to the side and bottom edges of the bookshelf with sixpenny nails and glue”.

Eight, “Drill and countersink pilot holes for the kick plate so the screw heads will be just below the surface of the wood. Attach the kick plate, then cover the screw heads with wood filler or spackling compound.”

Nine, remove any base molding from where the shelf will be placed

Ten, drill pilot holes through the back corner and into the wall studs—be careful not to drill through the inside of the bookshelf.

Eleven, “Measure and cut the nailer board and trim for the top of the bookshelf. Attach the nailer to the top of the shelf with sixpenny finish nails. Use finish nails to attach the trim”.

And finally, replace the baseboard trim and touch up any areas that need adjustment.

See photos and tips for guidance on http://bit.ly/12CHela

Water Damage: How to Prevent and Fix

We all love the look of newly installed wood floors. Of course there is maintenance that goes into keeping your floors quality, but what happens when water damage becomes an issue? If there is major damage, like a flood, the floor may need to be replaced. This can obviously be highly expensive. At the site of damage, remove the wood so that the sub-floor is visible. Drying it outside is the next step. In minor cases, it is important to act immediately by cleaning any spills by using towels. No matter how major the accident is, dehumidifiers and open windows can hwater-damage-hardwood-floor
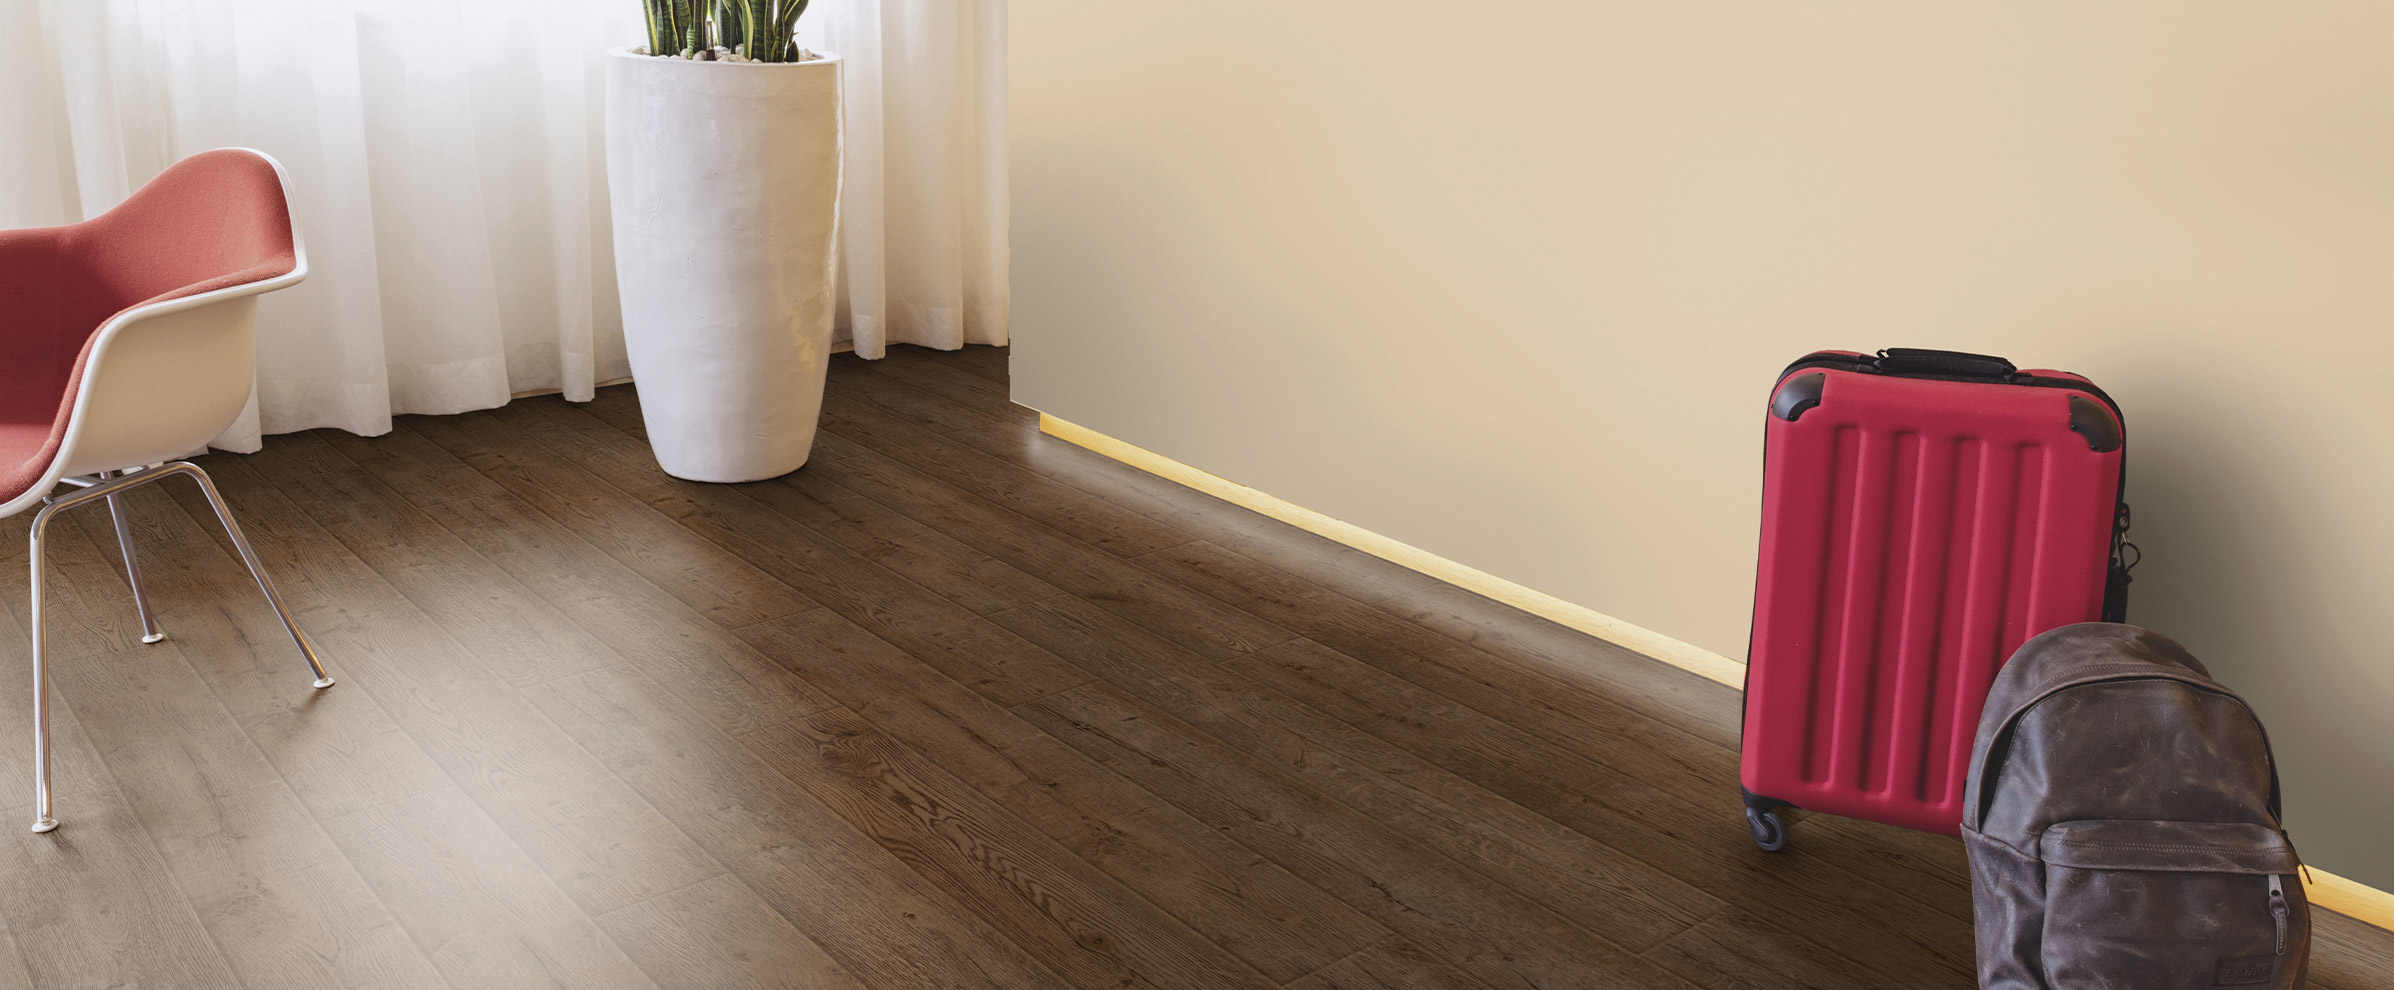
elp ventilate the room to prevent the damage to begin with.

Experts speak upon the easiest ways to dry your flooring

-The easiest way to dry out the top of the floor is to buy or rent large fans and point them down to the floor.

-Keep the AC on if you have it, but open windows next to the floor area about 2 inches.

-The excess moisture has to go somewhere, even with air conditioning.

-Now more importantly, below the floor in the basement, you also need to have large industrial fans pointed up to where the water has come through.

-If you happen to have a finished ceiling below the floor, you might also consider cutting a neat (and repairable) square in the drywall.

-This is so the fans can better dry the under side of the subfloor.

-It would help if a few holes were drilled up into the subfloor where the leak began, to make sure a puddle of water is not sitting between the floors.

ask@woodfloordoctor.com

There are other simple things you can do to prevent water damage in the first place.

“Use entrance mats- Sometimes dirt that accidently grinds into floors can accumulate water and moisture” which can cause long-lasting damage that might ultimately go un-noticed.

“Clear your floors regularly- Soft brush vacuum cleaners help prevent scratches” and there are many mild wood flooring cleaning products that are gentle on your floors.

“Choose your wood products wisely- Oil soaps are known to damage certain floors.” You wouldn’t want to cause more damage than the problem itself!

“Wax coating can help seal out moisture”’

Elegant-Floors

The important thing to know is that one must act immediately upon any noticeable water damage. Some floors can even collapse if the problem is not attended to. Re-coating and finishing the floor is important when going from damaged goods to a newly defined wood floor!

http://www.facebook.com/urbanfloor

How Your Floors Reflect Your Style

What better way to start a fresh year than to re-design a room to match your wood floors?  The correct flooring and texture go hand in hand with the interior design of your home. It has much to do with the layout, feel of your home, and the style that you wish to have. Wood flooring has become a very popular, modern trend that many have become fond of as an addition to their homes.

Design sets a sense of style that catches an eye when entering a room.  In order to choose your perfect hardwood flooring, design is the first step that factors into your transformation. It is ultimately the most important decision when it comes to choosing the correct flooring.

In fact, your own inspiration is what sets the decision making process.  Start with a plan.  How would your room look in order for you to be content with it when you walk in? Ask yourself a few more questions. What objects in your home inspire your lifestyle? Do you enjoy a modern look? A contemporary one? Or are you more traditional when it comes to the comfort of your home? Of course, there are many more factors that go into the decisions of creating your newly designed room.  Considerations include the size of the room, color of the walls, and the idea that the colors must complement each other for the final product to be beautiful. It is important to remember the color of your floors should not match perfectly with your walls or furniture. Diversity is key, but it should also be done tastefully. The color of your wood floor can be light, natural, or a darker stain. It is all up to your own preference.

Sofa-and-wooden-floor-in-living-room
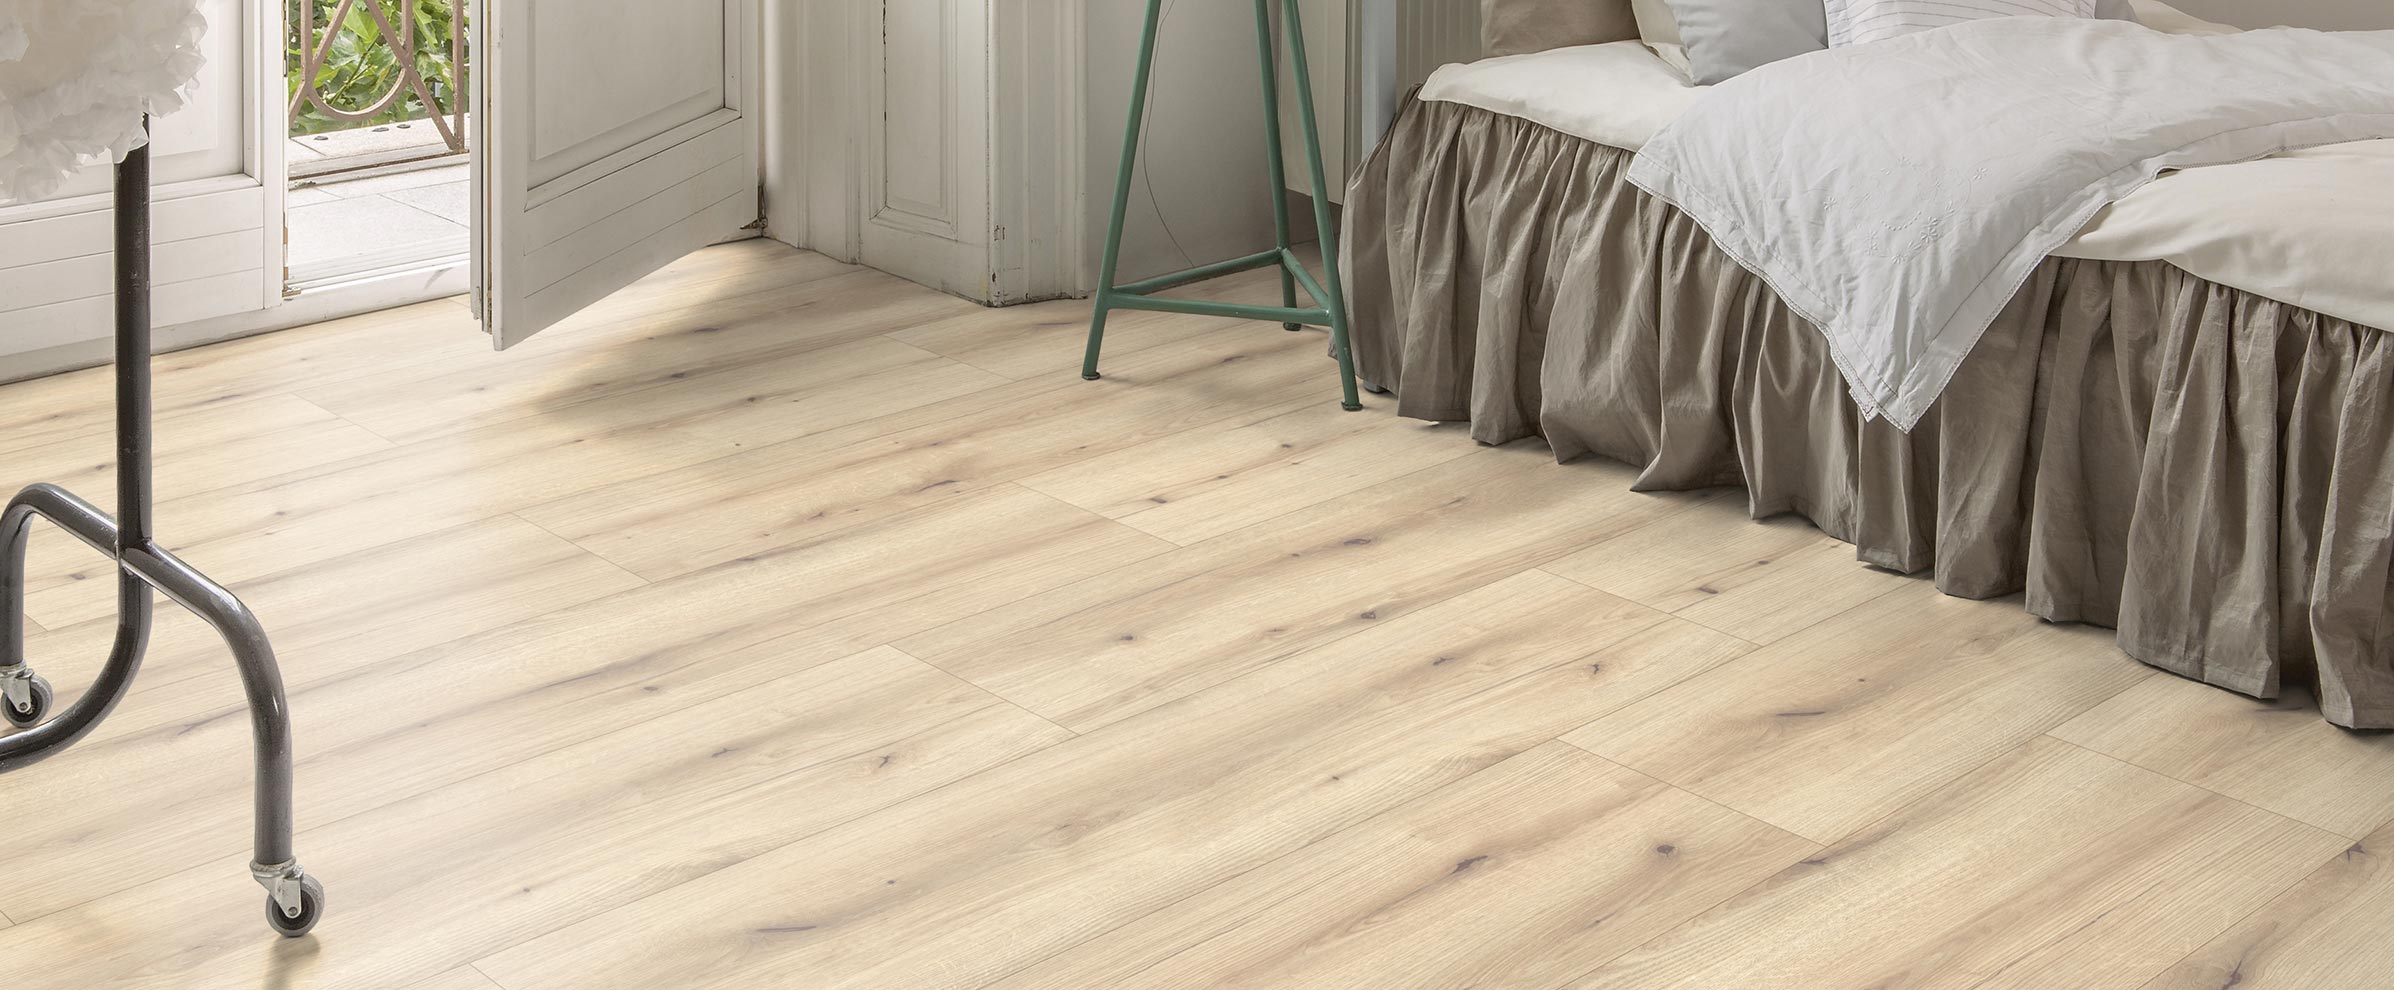
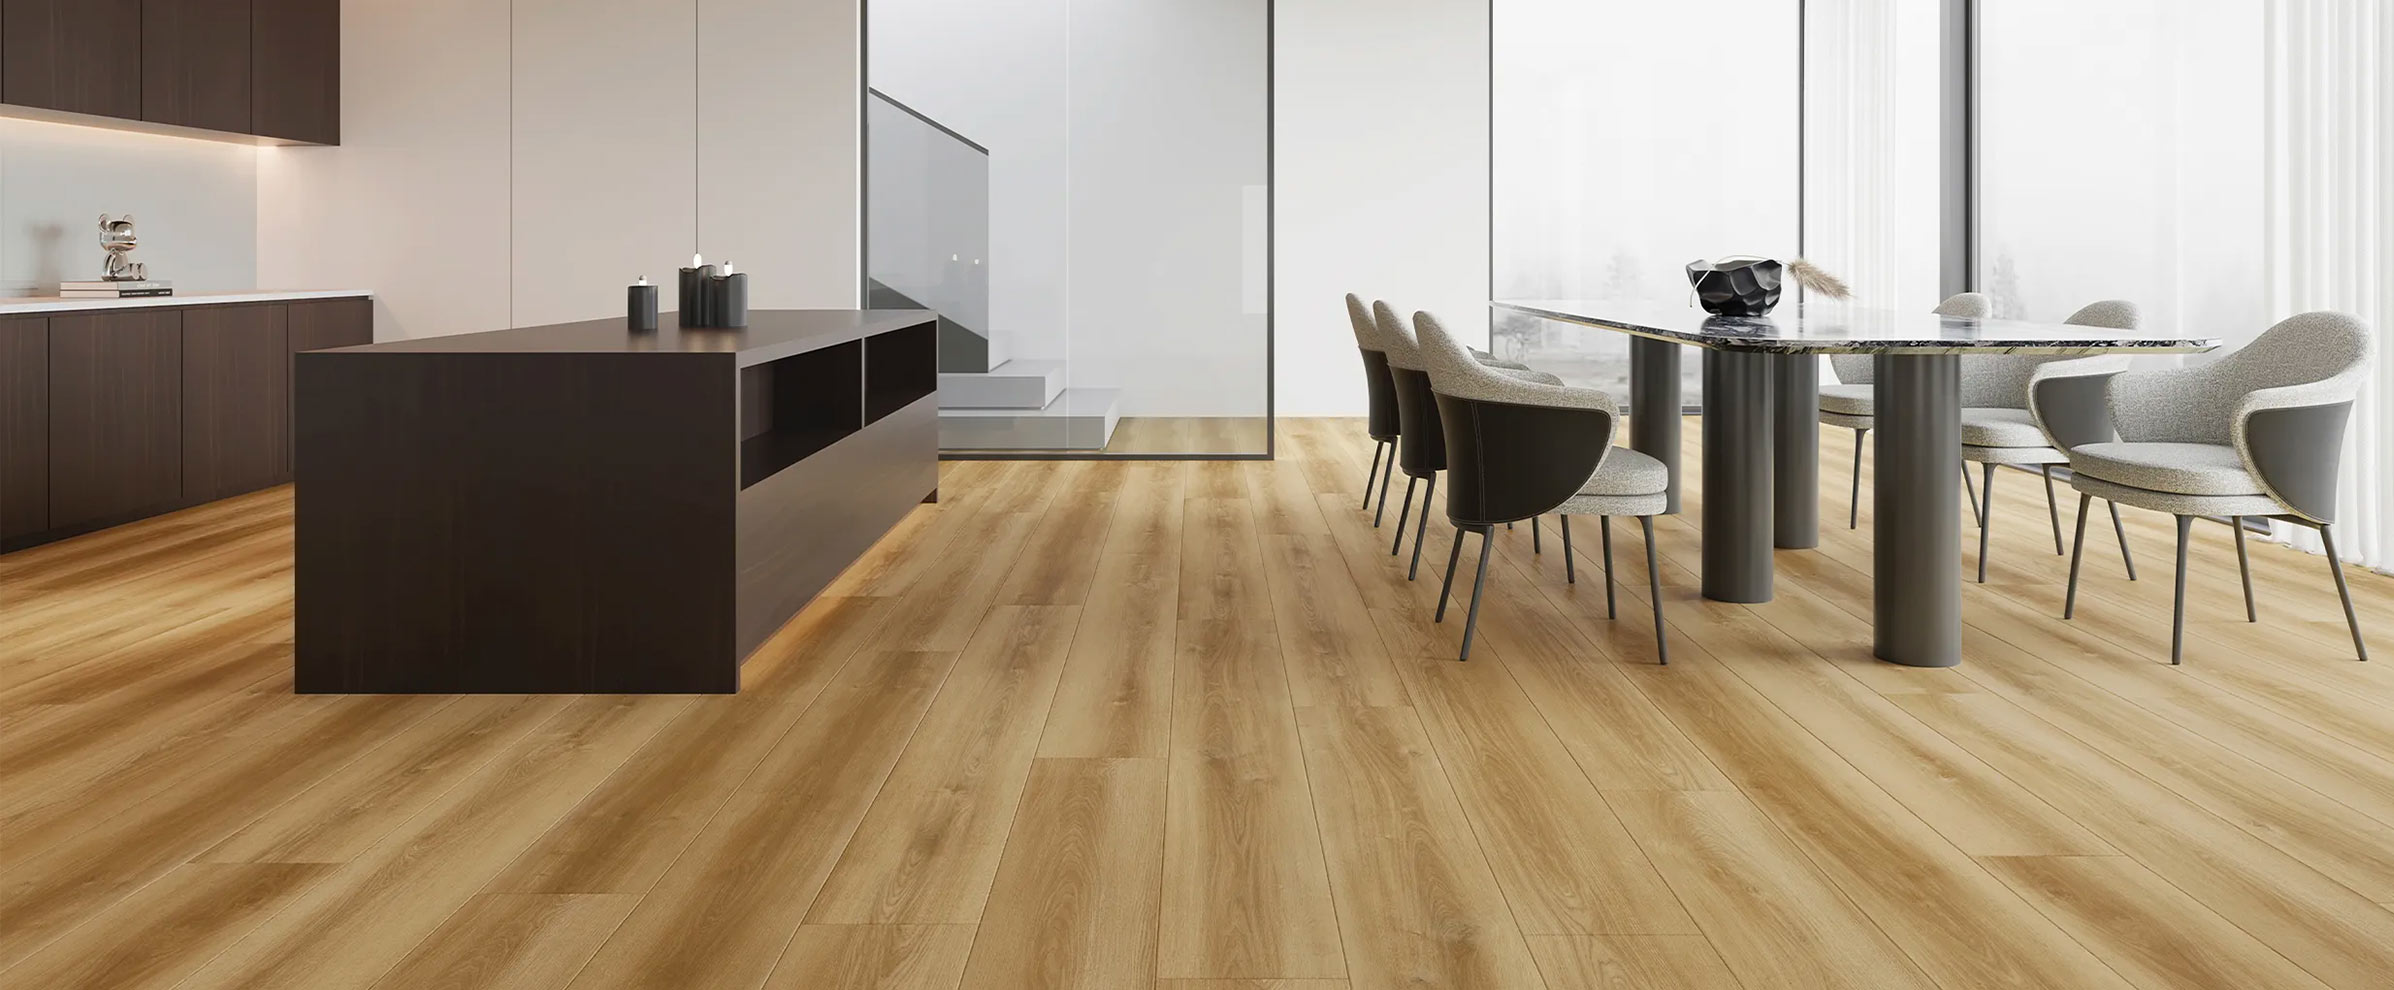
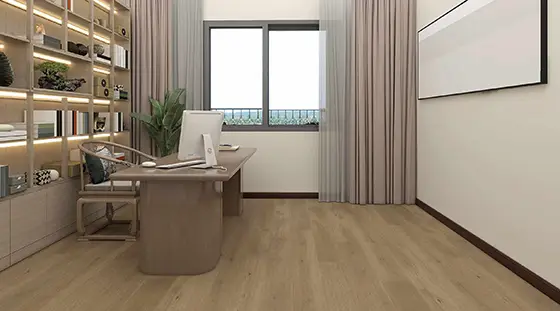
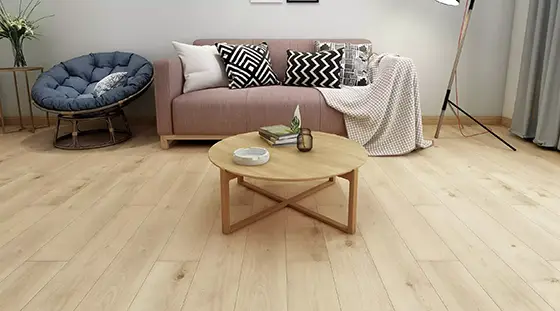
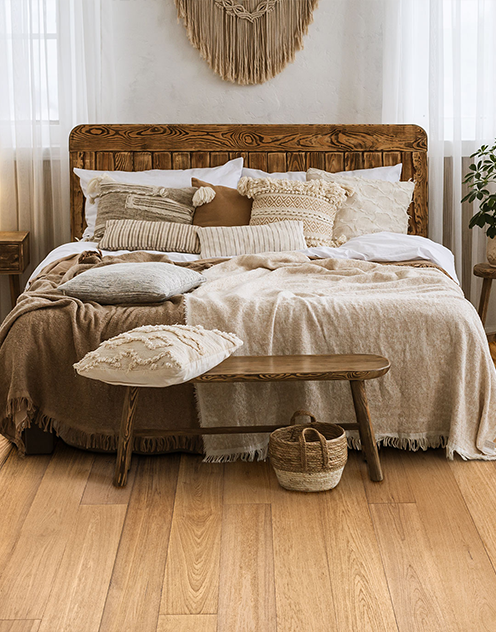
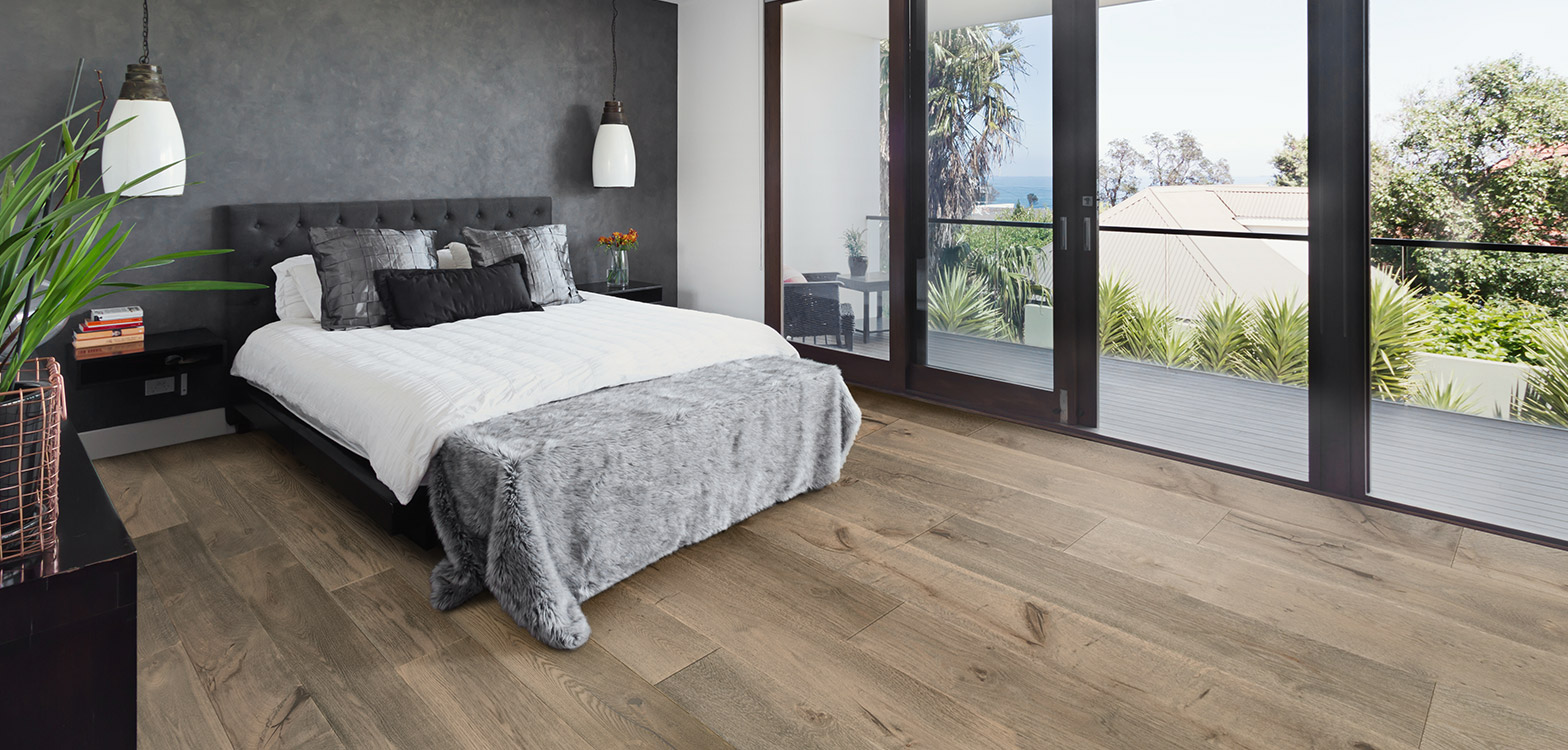
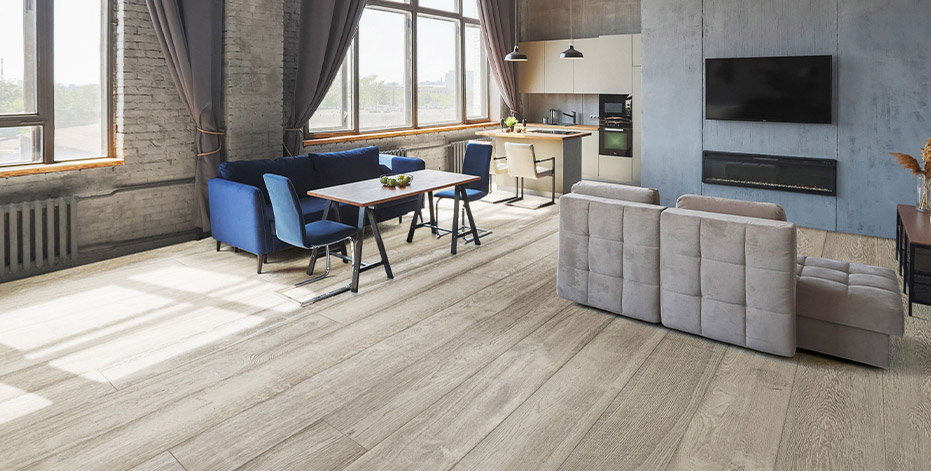
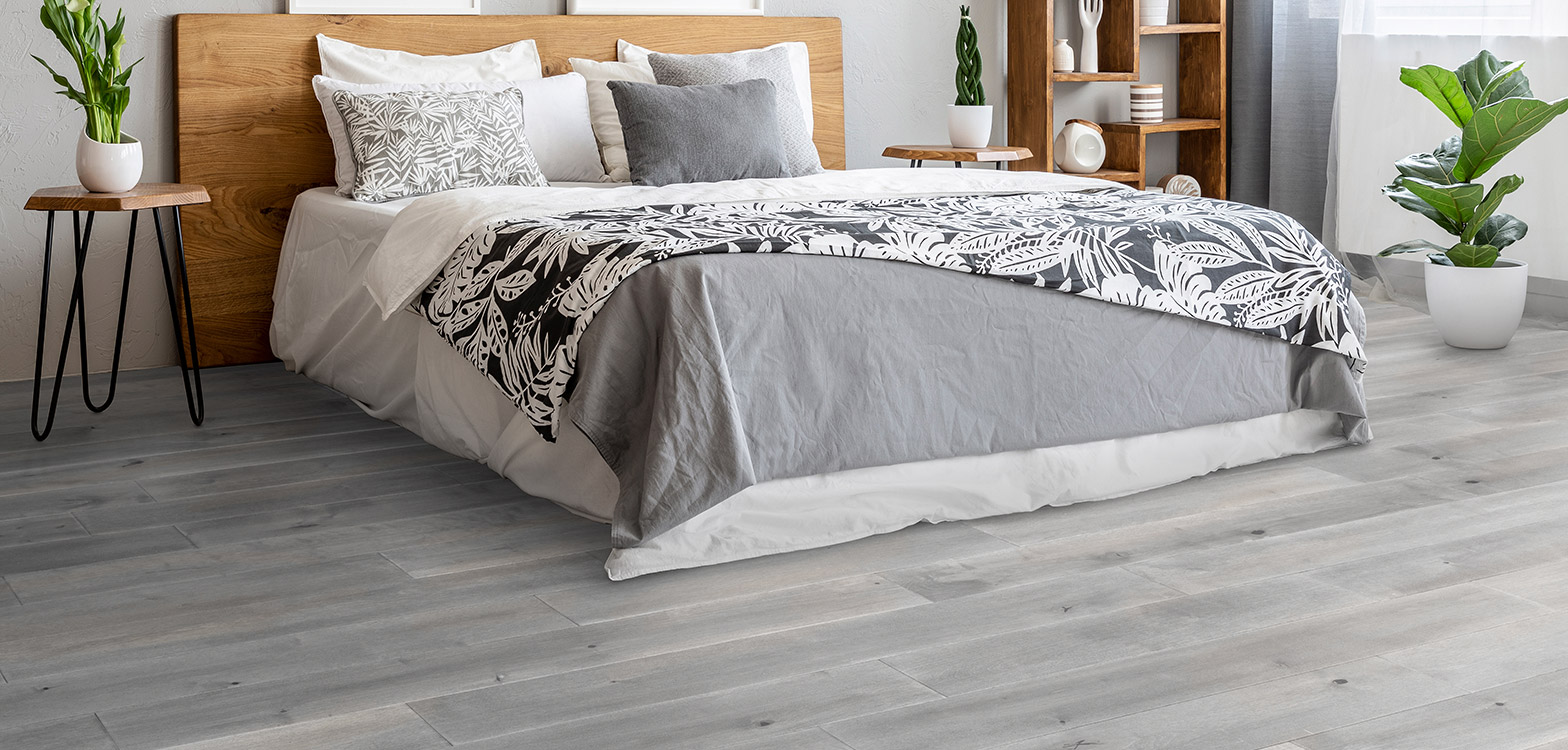
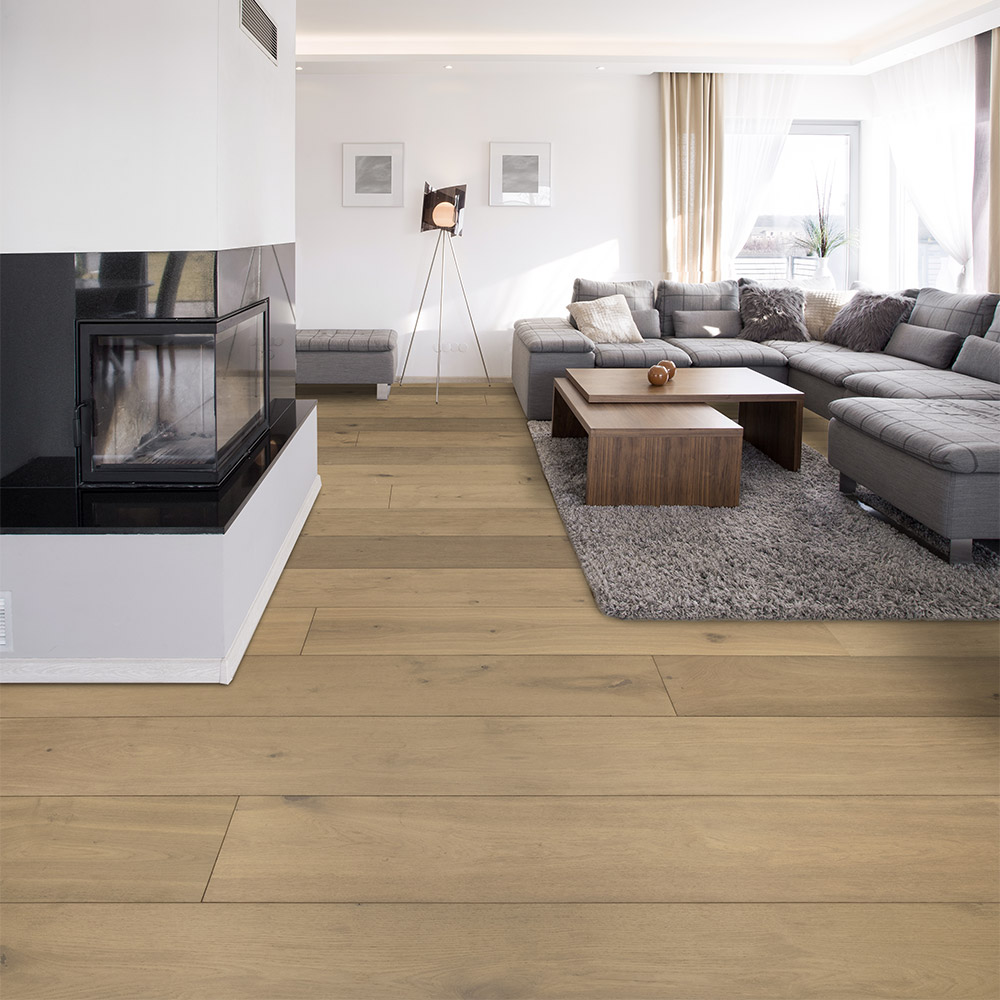
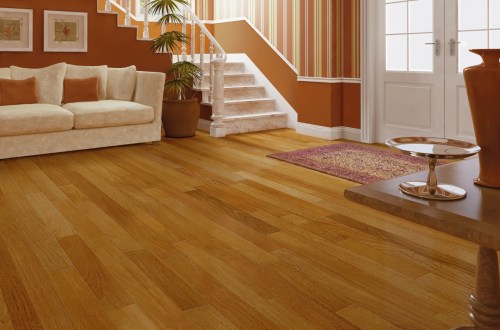
“In terms of a traditional look, dark wood floors suggest a formal appearance. Lighter colored walls as well as floral accessories accent the room greatly”.

Luanne Kelchner

Quotes from experts can be inspiring as well.  Holly is a design expert who has a love for art, design, and architecture.

“The wood flooring in a home is a critical part of the perfect design. It should be a canvas or a place to start for the overall picture that a quality designer will create. It should not be the focal point but a back drop.”

Remember, plenty of design magazines and books have even more visual tips to help create your perfect home.  When your interior style changes, there are many things you can do to re-arrange the look of your home.  Furniture and accessories say it all when a change of heart occurs!