
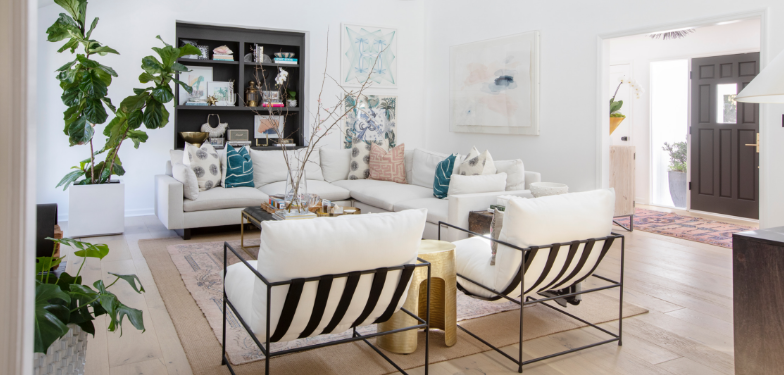

As we all know, flooring has numerous factors that complement color, shade, the type of wood, and more. Design, care, and maintenance are just a few aspects that go hand-in-hand with the flooring that you choose. Decoration and color are key factors to a wonderful, breathtaking room. Sometimes these additions can become expensive. Why not create a decoration yourself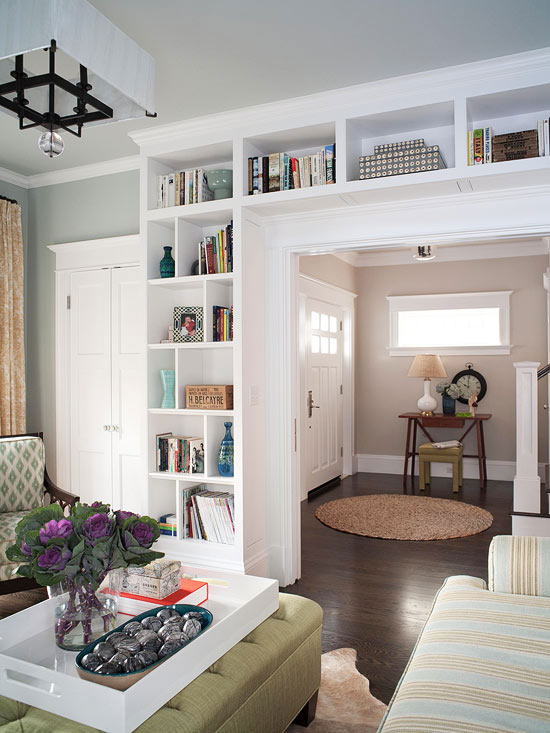 ? Many might be thinking– where is my talent and money that must go into this process? No need to worry. Following a few steps will help create a decoration or addition that you have always wanted. Today we are going to discuss a popular trend that is seen in many living rooms and bedrooms..Built-in bookshelves! In my opinion, I believe these are great for show, and for also saving space on a regular bookshelf. The trick is a 12-step process that will bring you from scattered supplies to a magnificent creation. After-all, if you can read, you can build!
One, you need to measure and cut the shelving. Measure the shelves in relation to the space you will be inserting them. Cut the pieces of shelving and using a circular saw, cut out the kick-plate area on the bottom of the unit.
Two, you must cut rabbet joints into the ends of the top shelf, cutting straight across the shelf into 1/8’’ increments
Three, “Mark the location for the center shelf, and use the pegboard as a template for drilling holes for adjustable shelves. Clamp the pegboard in place so that the first holes will be 4″ above and 4″ below the center shelf. Draw reference lines across the holes in the pegboard to help you keep the holes even. Drill holes 2″ from the edge in 2″ increments.”
Four, attach 1’’x 2’’ support blocks for the center shelf with glue and finish nails. “Drill and countersink pilot holes for the top of the bookshelf. Attach it with glue and 2″ wood screws. Apply wood glue to the support blocks for the center shelf, and set the shelf in position. Drill and countersink pilot holes in the side of the bookshelf, and attach the shelf with 2″ wood screws (Image 2). Be sure to drill the holes in an area that will be covered when the bookshelf is recessed into the wall”.
Five, attach support blocks for the bottom shelf with glue and nails
Six, Fasten the back panel with 1’’ brads to help the shelf stay square
Seven, “Attach 1″ x 2″ trim pieces to the side and bottom edges of the bookshelf with sixpenny nails and glue”.
Eight, “Drill and countersink pilot holes for the kick plate so the screw heads will be just below the surface of the wood. Attach the kick plate, then cover the screw heads with wood filler or spackling compound.”
Nine, remove any base molding from where the shelf will be placed
Ten, drill pilot holes through the back corner and into the wall studs—be careful not to drill through the inside of the bookshelf.
Eleven, “Measure and cut the nailer board and trim for the top of the bookshelf. Attach the nailer to the top of the shelf with sixpenny finish nails. Use finish nails to attach the trim”.
And finally, replace the baseboard trim and touch up any areas that need adjustment.
See photos and tips for guidance on http://bit.ly/12CHela