


Thinking About Doing Your Own Ceramic Tile Demo?
by Ron Call
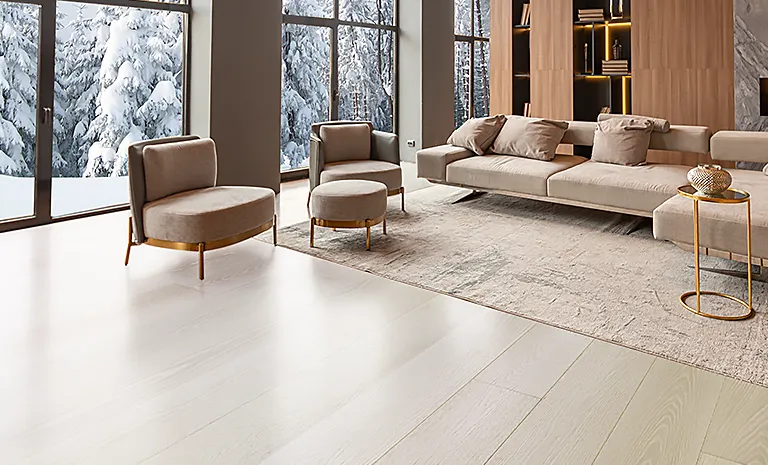
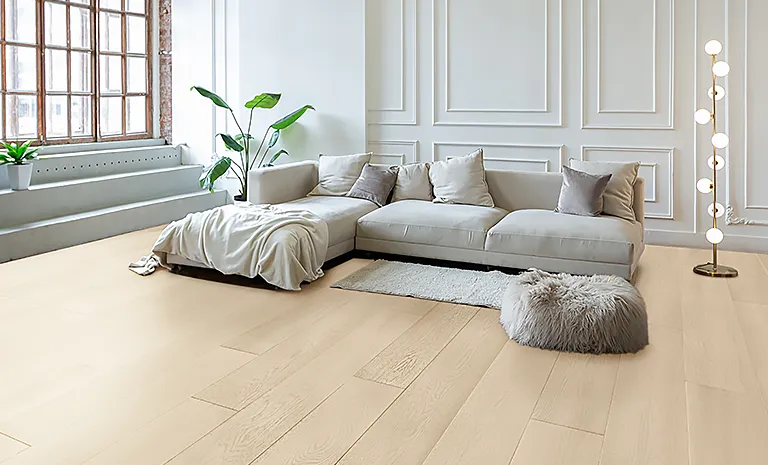
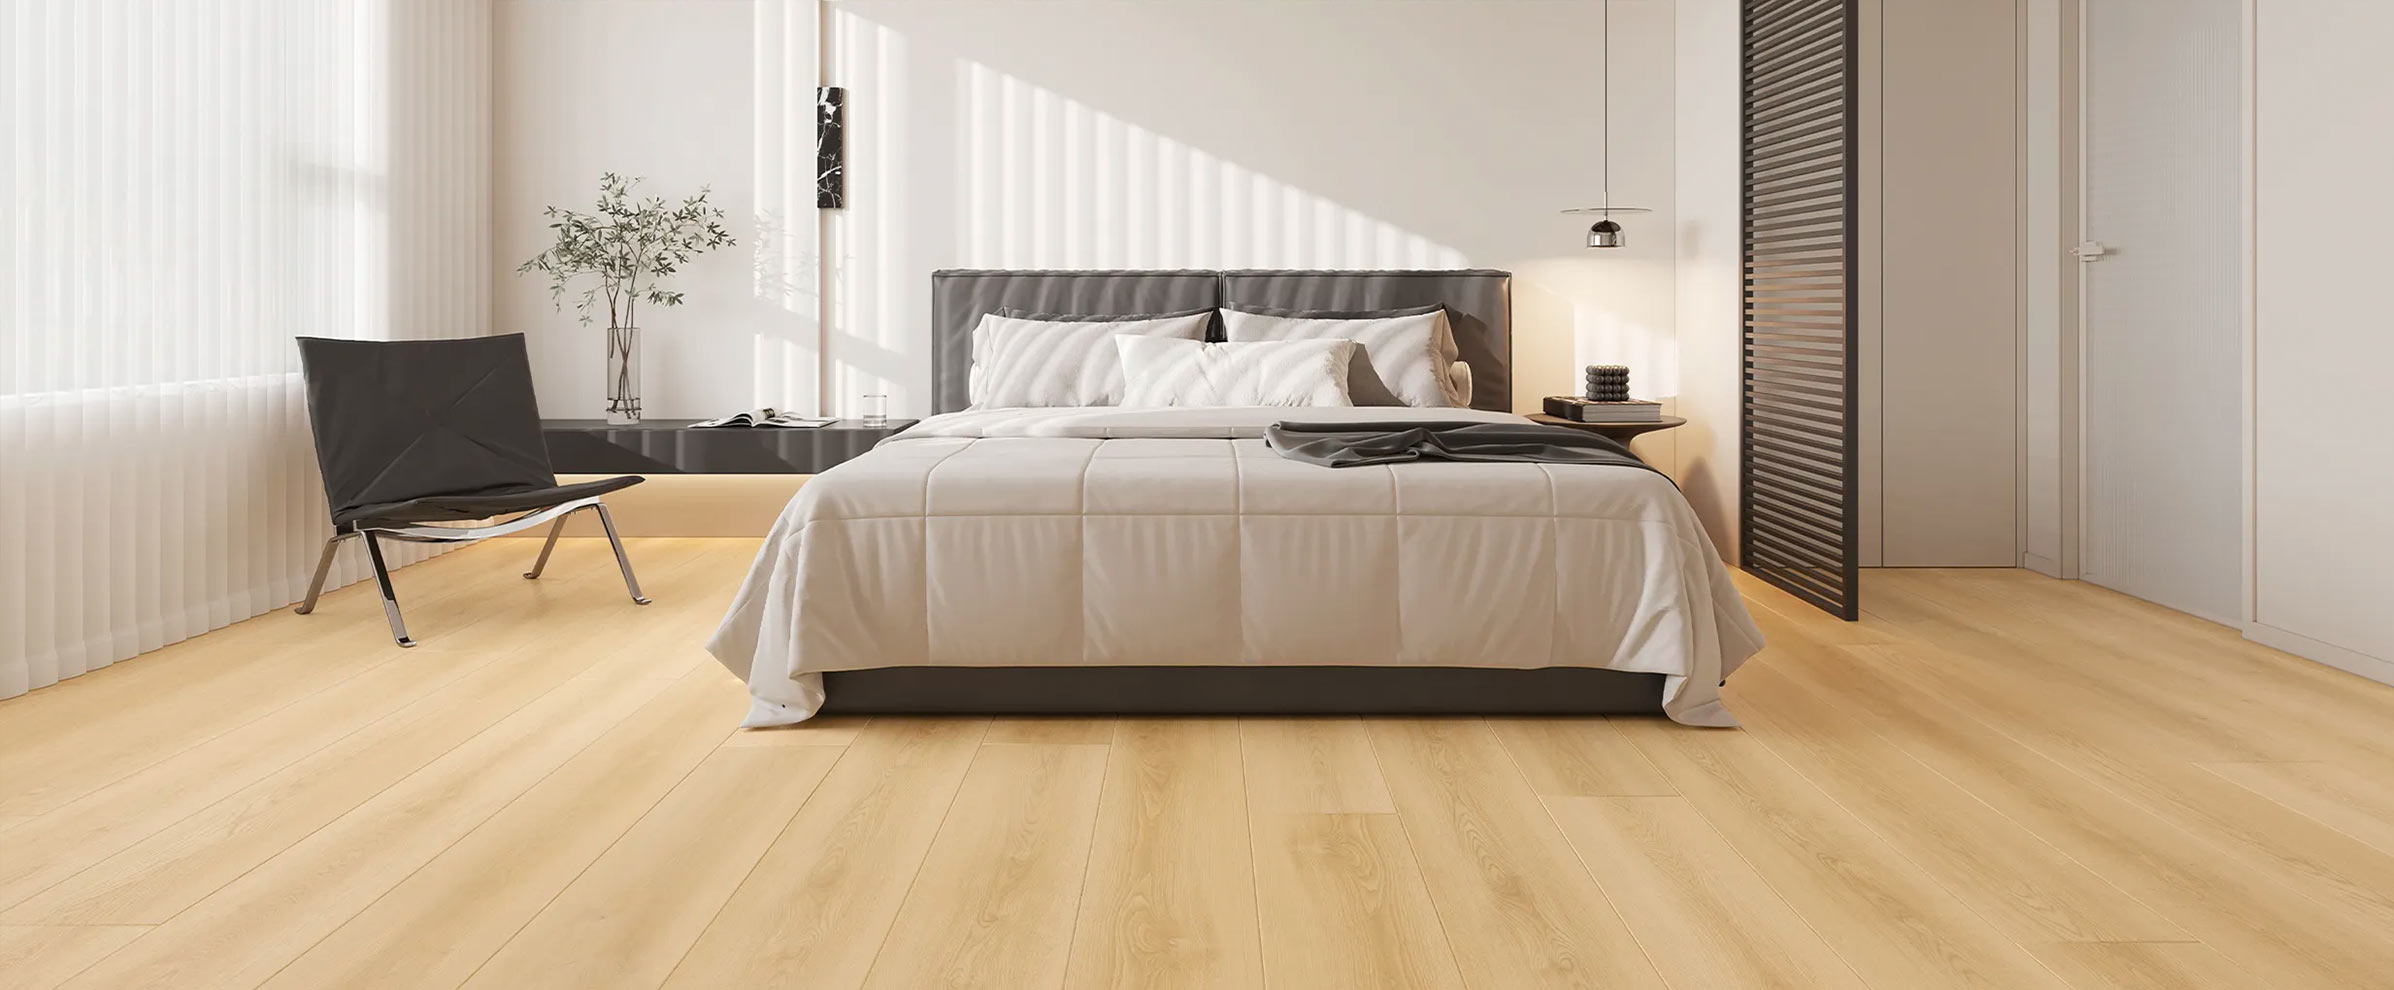
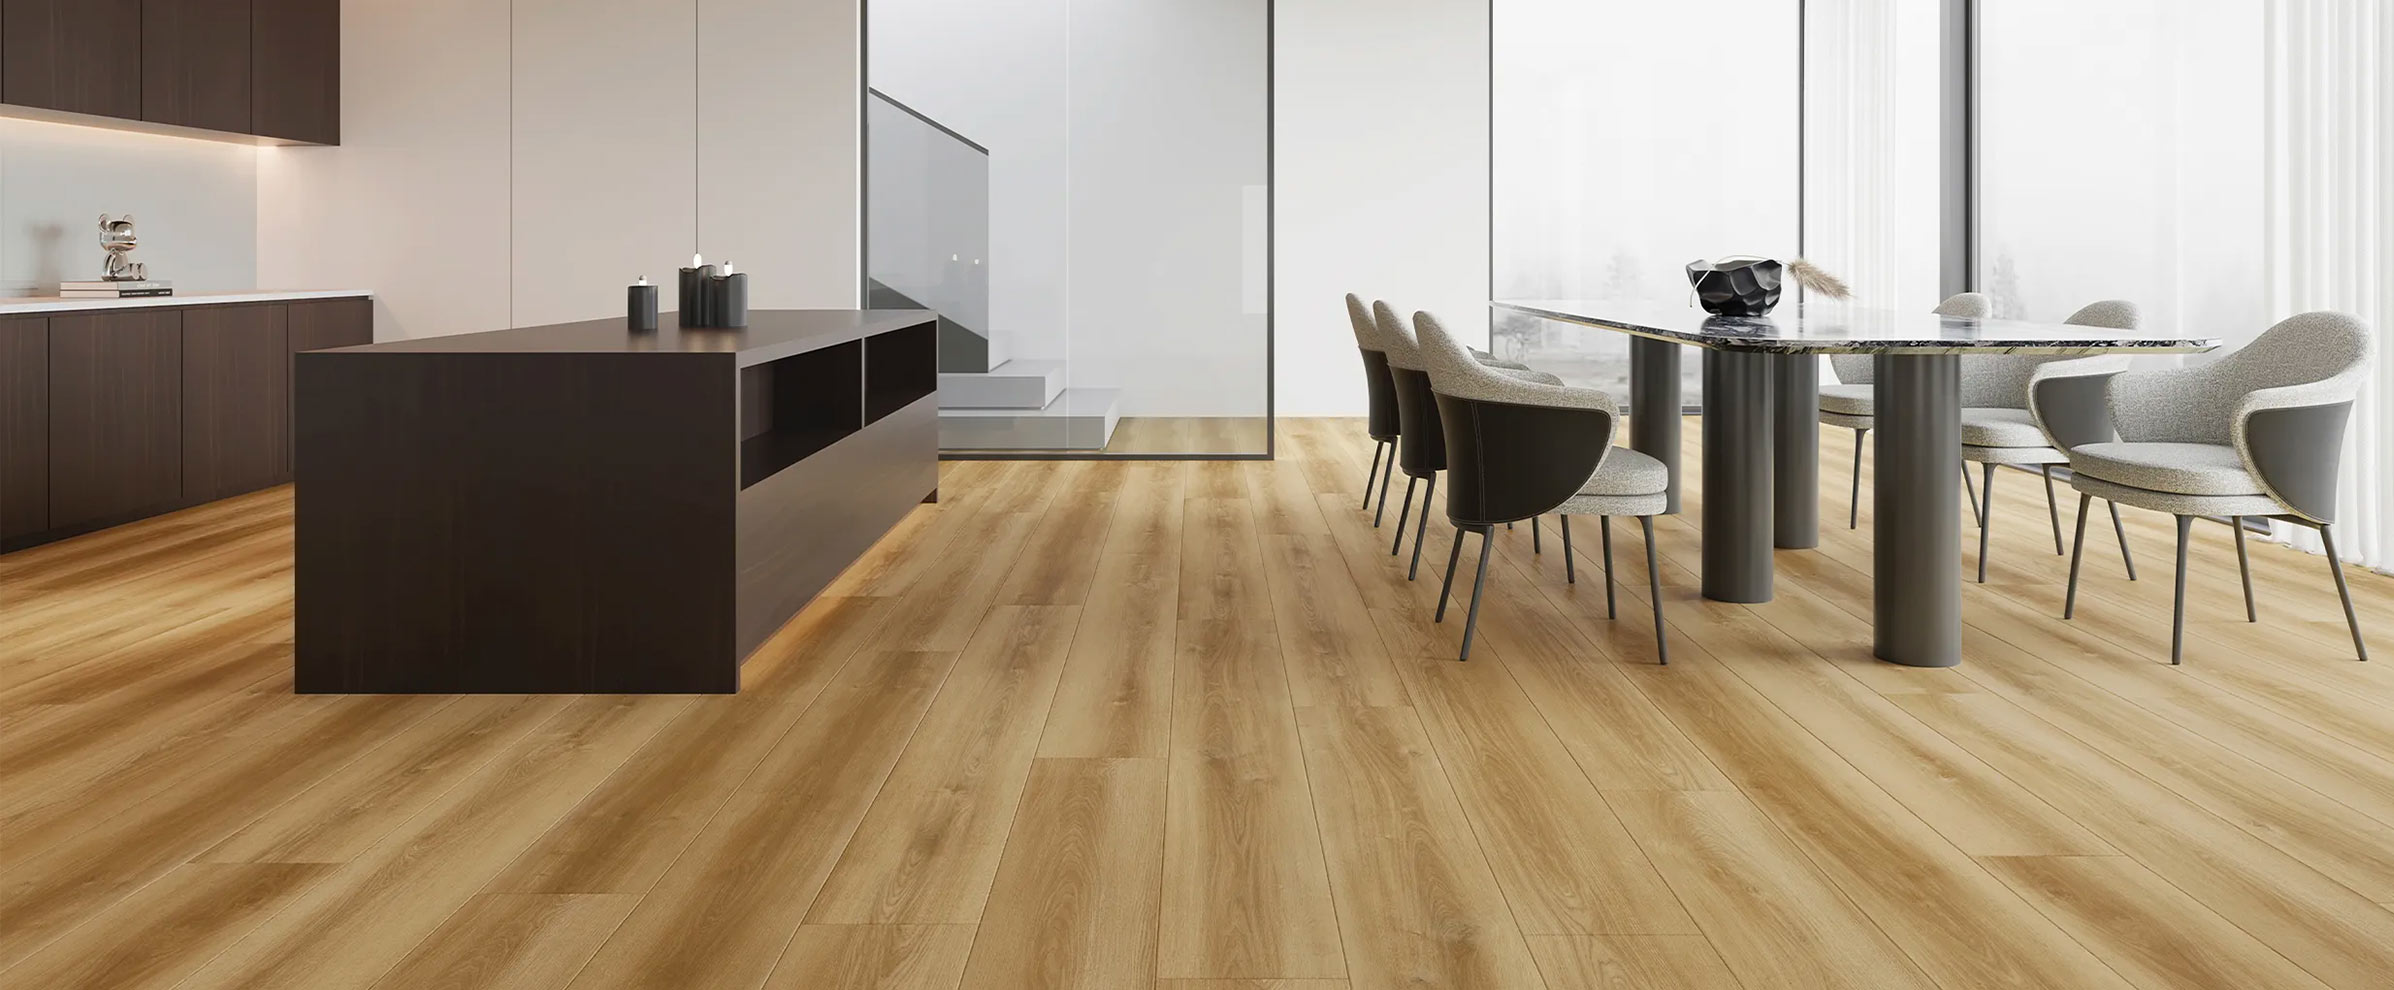
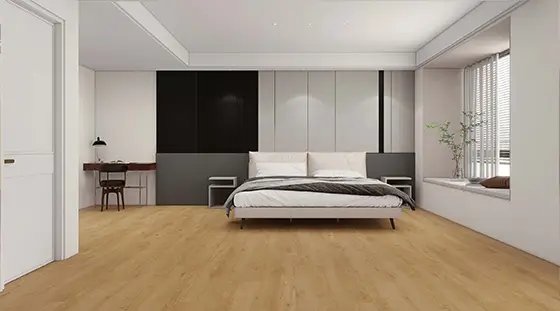
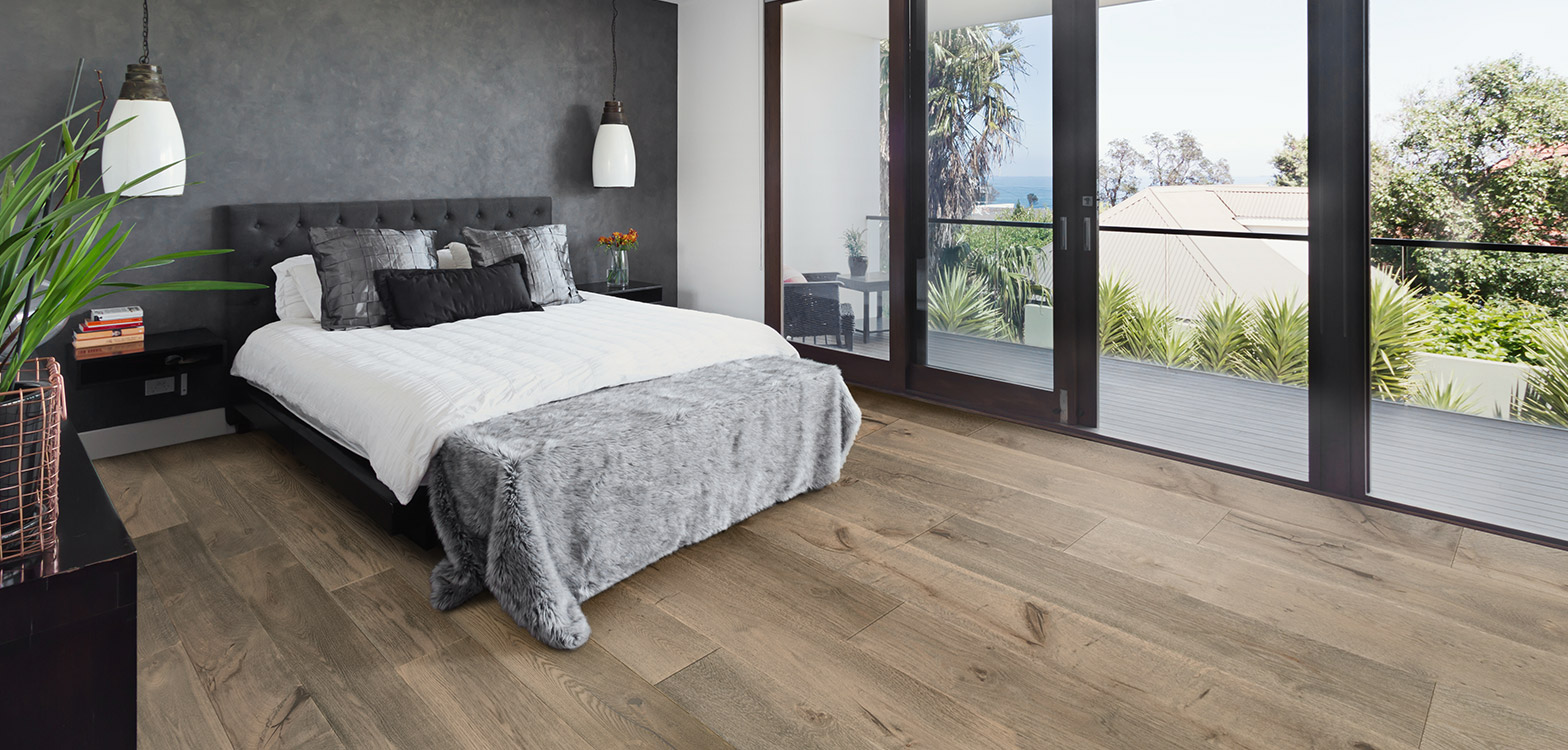
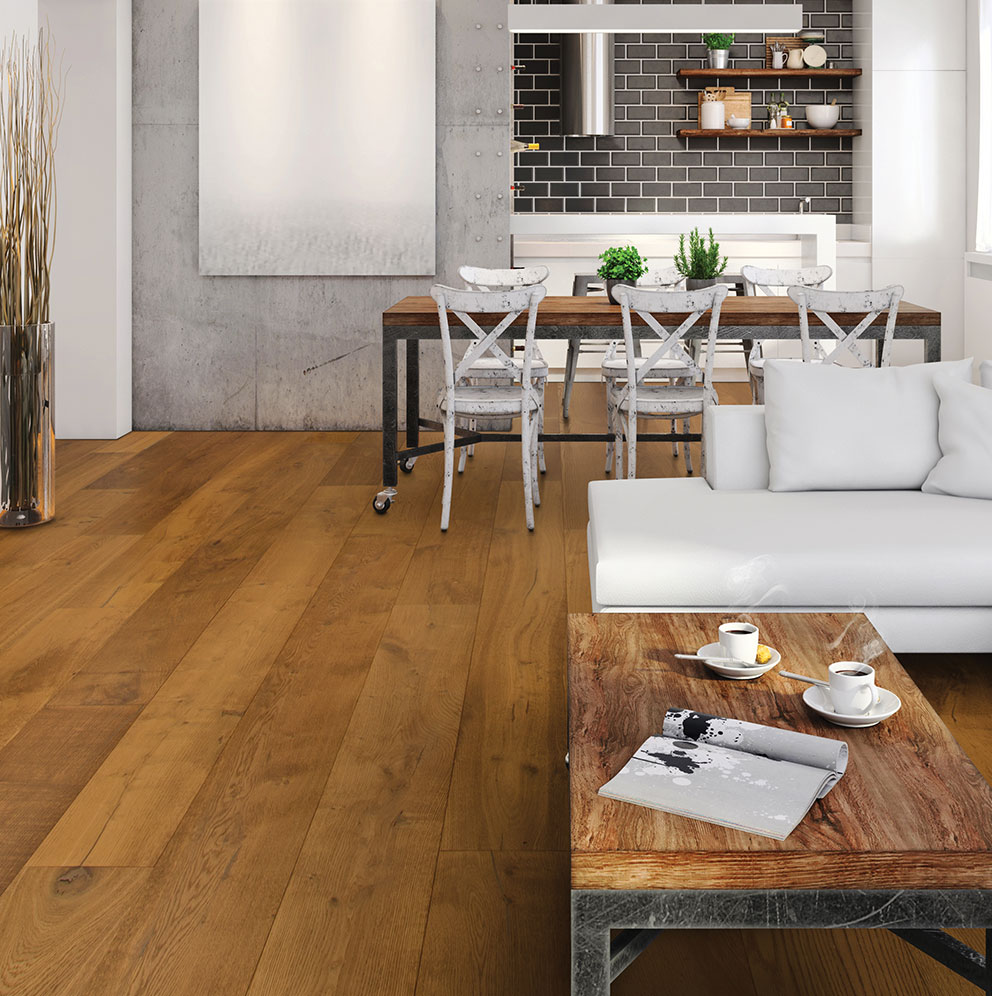
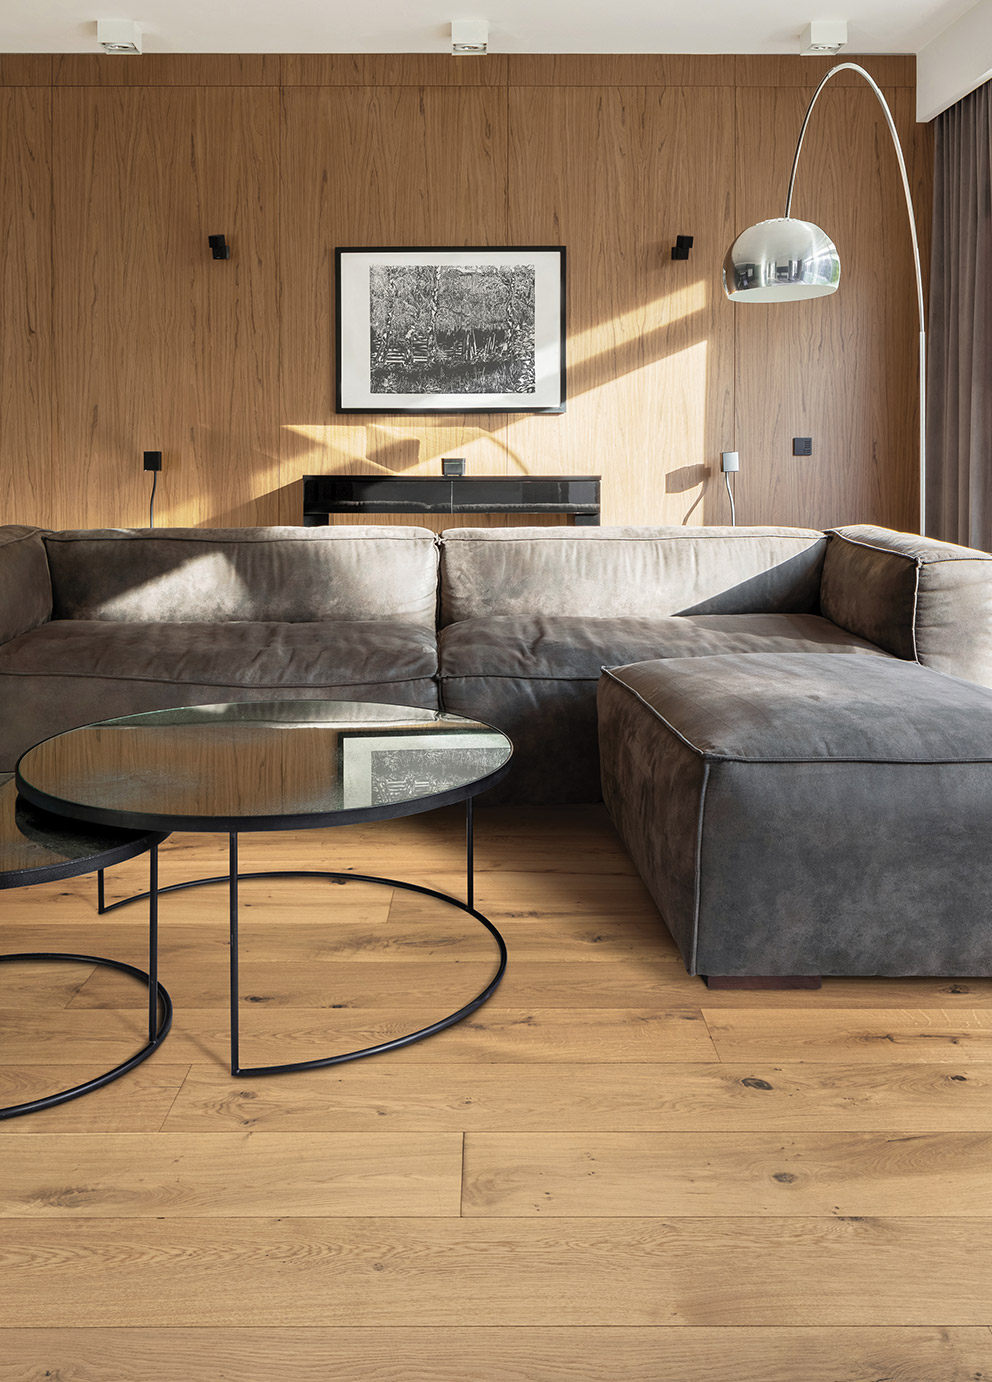
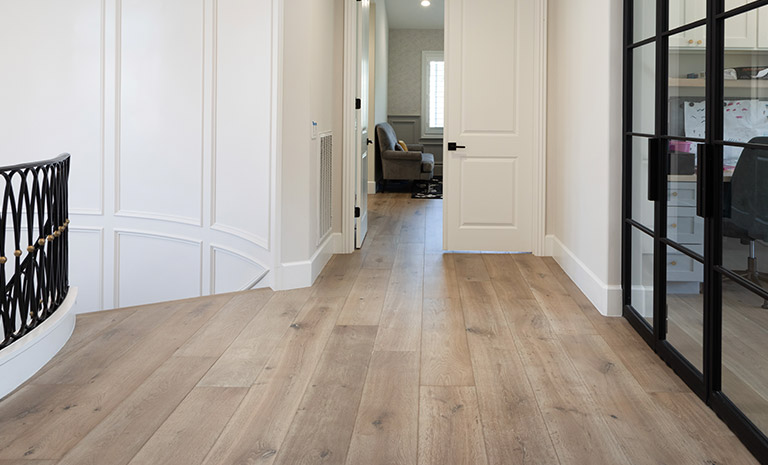
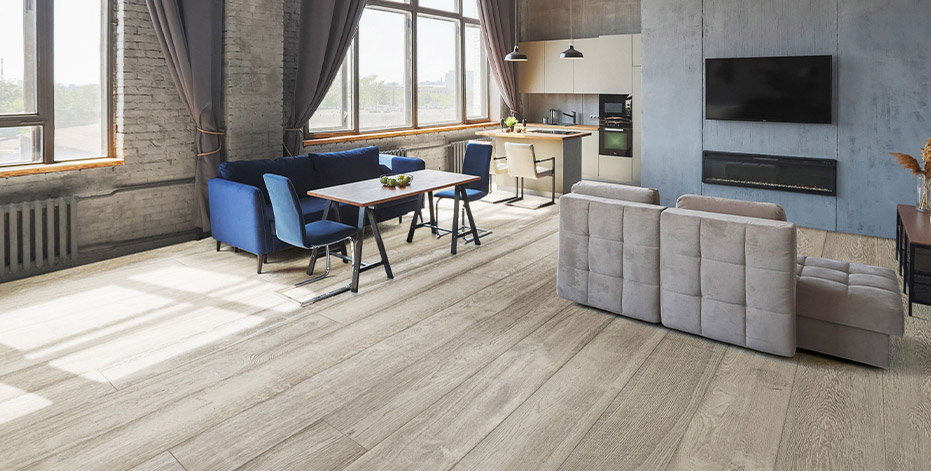
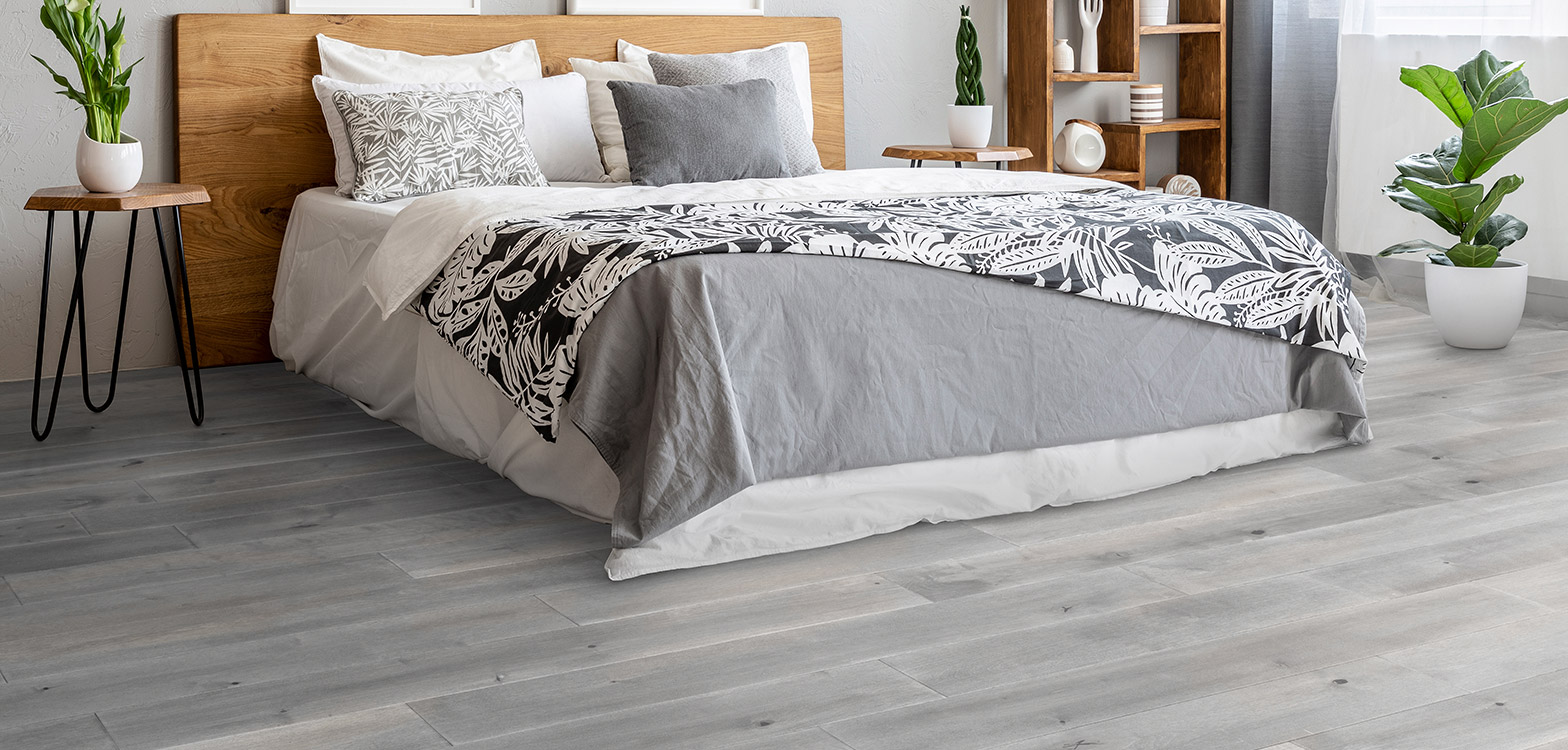
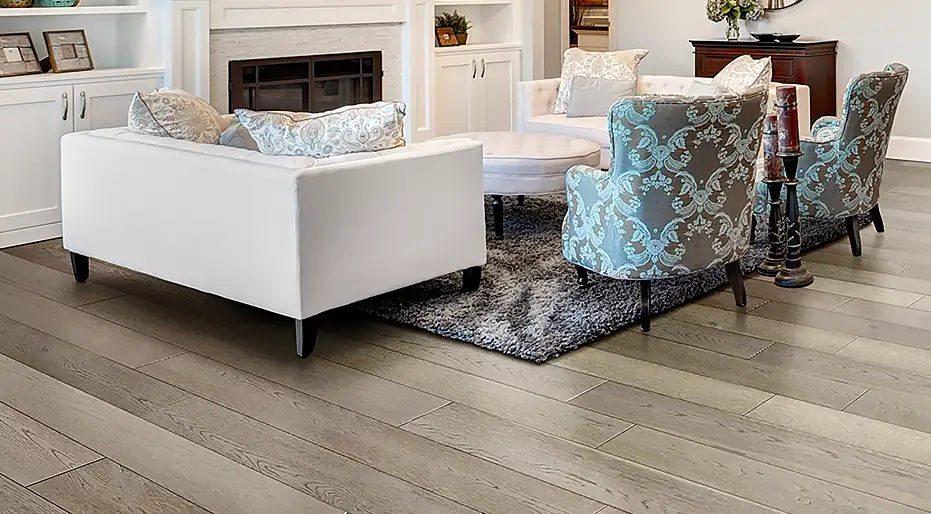
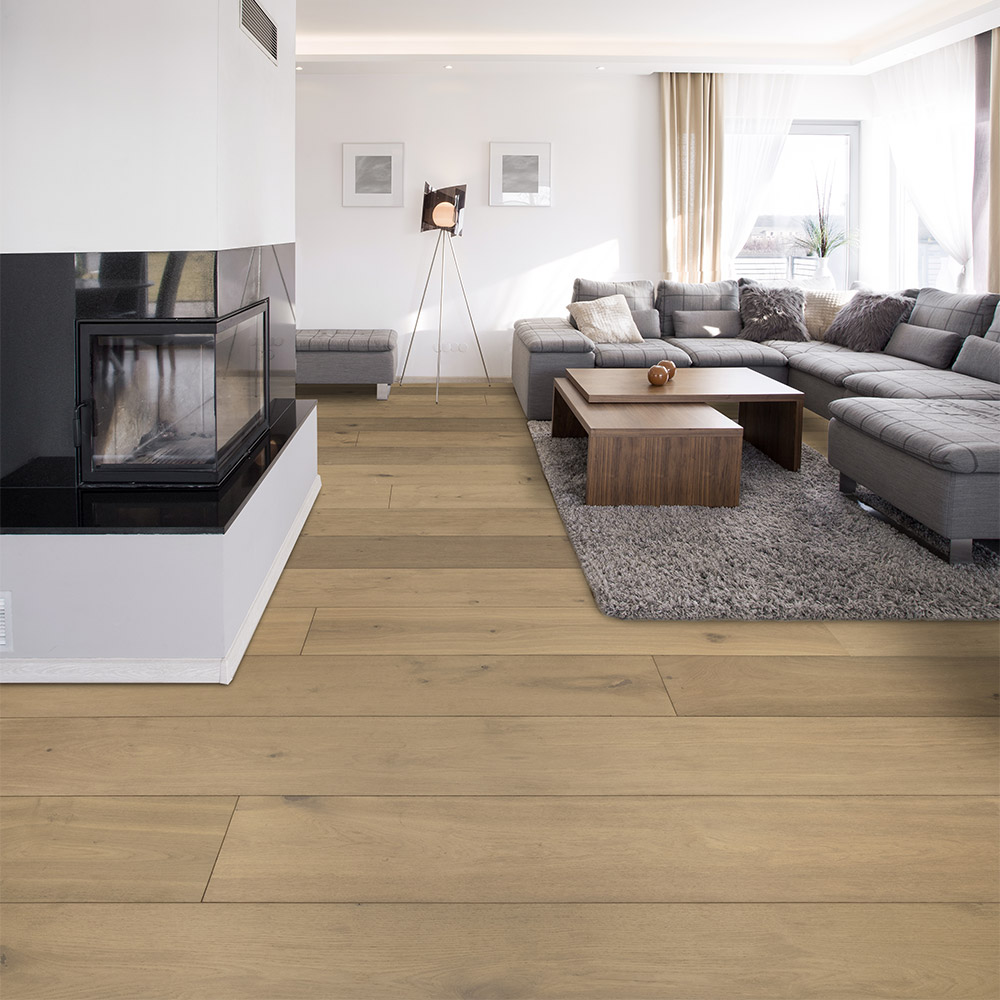
 As we continue in the series of do-it-yourself demo, today I will cover ceramic tile and stone removal from a concrete slab. This is a quite a bit more involved and difficult compared to carpet removal. Depending on the method of installation (whether installed over slip sheet or direct to concrete) and the materials used in bonding the tile, removal may be fairly easy or one of the most difficult jobs you will ever tackle. In this day and age of trying to save a buck or two on your home remodel you may want to consider doing your own demo. If you’re planning on installing your new flooring project soon, doing your own demo (removal of existing floor covering) will save you money. The cost to remove an existing ceramic tile or stone floor could be as much as the labor to install a new floor! Here is how you can do it yourself. For this project we will assume that we will be installing a new wood floor.
If you have an existing ceramic tile floor that is on a concrete slab here is what you will need.
- Hammer
- Pry bar
- Floor scrapper
- Work gloves
- Dust mask
- Safety glasses
- Five gallon bucket
- Flat head shovel
- Red rosin paper
- Blue painters tape
- Plastic sheeting
- Rotary hammer
- Commercial ceramic tile stripper (optional)
- Concrete grinder (optional)
Start your demo project by first protecting all the areas you are not demoing from flying debris. Use your red rosin paper and blue tape to protect any cabinets or walls that you don’t want to repaint. Hang your plastic in doorways or openings to adjacent rooms to keep the dust contained. Always wear your safety glasses, gloves and dust mask. If the area to be removed is not that big such as an entry way or small bathroom or kitchen hand tools may be all you need. Doing larger rooms you will do yourself a big favor by renting a ceramic tile demo machine from your local tool rental outlet. Your rotary hammer with a chisel bit will work as well but will take much more time. Here is a youtube video of the ceramic tile machine you may want to rent.
You will need to start your tear out at an exposed edge, possibly a door way or where the edge of the tile meets carpeting. If the carpet is staying pull it back away from the tile far enough to start your demo without causing damage to the carpet. If the carpet is being replaced as well, remove this first (See last week’s blog). If the room is totally tile with no exposed edges use your hammer to breakout a few tiles in the middle of the room. Once you have enough area exposed use your rotary hammer or your machine to start your demo. As you proceed through the demo use your shovel and five gallon bucket to carry the broken tile out to your truck or dumpster. Tile is very heavy and the broken edges can be as sharp as a razor so wear your gloves.
I do not recommend trying to fill your trash cans with the removed tile as it will become so heavy your trash man will most likely not pick it up for you. Transport it to the dump in a truck. Be sure to remove any residual mortar from the floor using your floor scrapper, rotary hammer or concrete grinder as needed to achieve a clean smooth surface for your new floor. Once all your old floor is removed your ready to call your installer…